
Surprising fact: nearly one in four homeowners say a single handcrafted piece changed the feel of their living room forever.
You can recreate that effect in a day. This project is easy and costs about $300 or more, depending on the choices you make.
Start by picking oak that shows real character—checking, old holes, or beetle marks add history to the surface. The guide walks you through milling, glue-up, leg construction, and fastening so the final piece stays square and strong.
Tools are straightforward: saws, a drill/driver, clamps, pocket-hole jig, and a router. Follow the build path to avoid surprises and to manage wood movement before finishing with oil or wax for lasting protection.
Key Takeaways
- The skill level is easy and the job fits into a single day for most builders.
- Expect typical costs starting near $300; quality materials affect price.
- Choose boards with authentic character for a warm, storied look.
- Gather core tools ahead of time to keep the process smooth and safe.
- Follow steps for glue-up, leg and apron work, and proper fastening to prevent movement issues.
- Finish with oil or paste wax and maintain the piece regularly for long life.
Why a Reclaimed Wood Coffee Table Belongs in Your Living Space
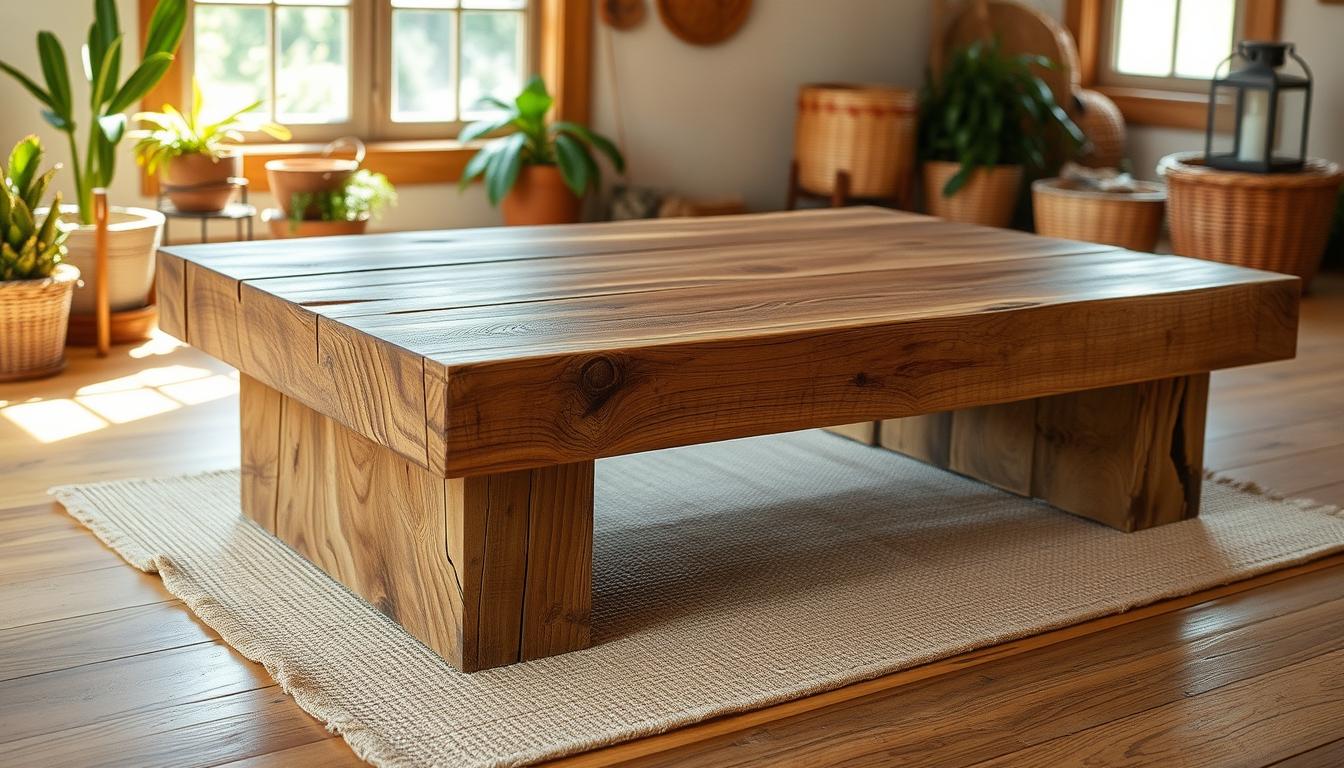
A reclaimed oak top brings history into your living area through visible checking, old peg holes, beetle marks, and live edges. Those features give the piece undeniable character and make the table a true focal point.
You also gain a practical advantage: dense, seasoned boards resist warping and stand up to daily living. That stability means the furniture performs well while keeping a warm, lived-in look.
Mixing materials boosts design flexibility. Pair aged planks with metal legs for an urban look, driftwood accents for a coastal feel, or simple aprons for a farmhouse appearance. The choices help the piece sit naturally in your home and match existing decor.

- Sustainability: reuse reduces pressure on new timber.
- Uniqueness: no two boards share the same history.
- Durability: seasoned wood often lasts longer than fresh stock.
| Material | Look | Practical Benefit |
|---|---|---|
| Reclaimed oak | Visible grain, peg/bolt marks | Stable, long-lasting surface |
| Driftwood | Weathered, coastal tones | Light, textured aesthetic |
| Bamboo / Metal | Modern or industrial | Fast-regenerating or strong support |
| Mixed top + clean apron | Balanced, intentional design | Warm top, neat silhouette |
DIY Coffee Table Reclaimed Wood: Rustic Builds With Sustainable Materials
Your material choices shape both appearance and performance. Dense oak adds warm tone and durability, while pine gives a lighter farmhouse feel. Driftwood brings coastal texture and bamboo offers a fast-regenerating option that aligns with renewable sourcing.
Core materials include straight 2×10 boards for the top, 4×4 legs at 18 inches, and apron rails. Add reliable wood glue, pocket screws for hidden joins, and tabletop fasteners that let the top move seasonally without stress.
Check each board for flatness and features you want to highlight: live edges, bolt or peg holes, and beetle marks can become design focal points. Sort boards by grain and tone so the surface reads intentional.
Tools are simple but precise: a miter or track saw for accurate cuts, a table saw to rip widths, a drill/driver with a spade bit for recesses, clamps for tight glue-ups, a pocket hole jig for the apron, a router for roundovers, and a sander for final smoothing.
- Plan the build order from milling and dry-fit to glue-up and apron installation.
- Stage consumables—extra glue, screws, and sandpaper—to keep the process smooth.
Prep the Workspace and Plan Your Build
Before any cuts, set up a clean, well-lit bench so every step of the build runs smoothly. Clear floor space, set solid infeed and outfeed supports, and lay out the miter/track saw, table saw, drill/driver, clamps, and jigs within reach. This saves time and keeps the process efficient.
Set up a safe, organized area and dust control
Control dust with a shop vac or extractor and wear eye, ear, and respiratory protection. A simple extractor makes cutting and sanding cleaner and protects finishes later.
“Good dust control and PPE are the best investments for a neat, healthy shop.”
Dimensions and cut plan: common sizes and leg height
A popular footprint is about 44 by 44 inches with an approximate 18-inch base height. Cut 2×4 frame members to 42″ when you use a 1″ thick top so the outer edge reads square.
Mark cuts clearly, label parts, and verify measurements twice. Dry-fit the frame and confirm diagonals to keep the table square before you drill pocket holes or toenail with glue.
- Plan milling: true edges with the track saw, rip widths on the table saw, hold fine cuts for last to preserve accuracy.
- Stage glue-ups with cauls and even clamp spacing to avoid seam slip and reduce sanding work.
- Protect faces with painter’s tape or sacrificial boards to prevent tear-out on visible edges.

| Task | Action | Why it matters |
|---|---|---|
| Dust control | Shop vac or extractor | Safer cuts, cleaner finish |
| Cut planning | Label and verify parts | Reduces rework, keeps square |
| Glue-up staging | Use cauls and steady clamps | Tight seams, easier sanding |
Finalize finish staging—plastic, stands, and ventilation—so the final guide steps go smoothly and no airborne dust settles into fresh coats.
Construct the Tabletop: Character-Forward Reclaimed Wood
Begin by laying out boards so the grain and patches of history read like a single composition. Sort and orient planks so checking, beetle trails, live edges, and peg holes become intentional accents rather than random defects.
True edges first: use a track saw to square one face and edge, then rip consistent widths on a table saw. Dry-fit the three 2×10 pieces and align grain and color transitions. Mark registration lines so parts reassemble exactly for glue-up.
Apply wood glue along jointed edges and spread it thinly with a brush or roller. Use cauls and even clamping pressure to hold seams flush and avoid gaps. Clamp for about an hour, then allow full cure per glue instructions.
Square the panel with the track saw and check diagonals so the top registers cleanly to the base. Follow a sanding roadmap: start coarse and move through finer grit sandpaper, vacuuming between passes to keep the surface clean.
Soften sharp edges with a router and a small roundover bit for comfort and durability during daily coffee use. Spot-fill small checks using a tailored blend, keep deeper marks visible, and test your finish on an offcut before committing to the top.

Build the Base and Frame for Stability
Focus on a rigid base first—this is where durability and long-term performance start. A tight, well-aligned base keeps the top flat and the whole piece stable during daily use.
Cut and prepare legs: slice four 4×4 oak legs to 18 inches and joint or sand the ends for flat bearing faces. Label each leg so the best grain faces outward and break sharp arrises to avoid snags and help finish adhesion.

Apron construction and joinery
Size apron rails to fit snugly between the legs. Drill clean pocket holes on both edges of each apron piece.
Assemble the frame using pocket screws and wood glue for a rigid fit that resists racking. Pre-drill near holes to prevent splitting and clamp assemblies so joints stay flush while fastening.
Alternate frames and waterfall considerations
If you prefer a budget-friendly route, build a square 2×4 frame roughly 44″×44″ with an overall height near 18 inches. Use toenails or Kreg pocket holes as needed and confirm diagonals to keep the frame square.
For a waterfall edge, cut 45° miters at the top corners and dry-fit each seam so the mitered faces meet cleanly before final glue and screw-up.
| Step | Action | Why it matters |
|---|---|---|
| Legs | Cut four 4×4 oak to 18 inches, sand, label | Flat bearing faces and consistent grain orientation |
| Apron | Drill pocket holes both edges; assemble with pocket screws + glue | Strong, racking-resistant frame |
| Alternate frame | Build 2×4 square frame ~44″×44″; confirm diagonals | Cost-effective, sturdy base option |
| Waterfall edge | Cut 45° miters at corners; dry-fit before final assembly | Crisp continuous face when wrapped down the sides |
Finally, check diagonals and add intermediate stretchers if needed to stop flex on long spans. Sand progressively and confirm all mating faces are flat so your coffee table sits level and quiet.
Assembly, Joinery Details, and Wood Movement
Place the assembled base under the top and trace its footprint so every leg lines up precisely. Mark corner locations and plan small recesses where needed to prevent the frame from creeping toward the edges during final fastening.

Position, cutouts, and alignment
Set the leg-and-apron assembly on the underside and trace leg locations. Use a jigsaw for corner cutouts so the legs register cleanly and sit flush without shifting.
Fasteners, spade-bit recesses, and movement
Drill shallow spade-bit recesses in the apron to house tabletop fasteners. Secure screws through those fasteners so the tabletop can expand and contract freely.
Clamp and align the frame before driving screws; this prevents twist and holds the reveal even while you fasten.
Traditional pegs and final checks
Fill old bolt or peg holes by fitting hardwood pegs sized to the hole. Add a touch of wood glue, let dry, then flush-cut and sand smooth.
- Soften exposed edges with a router and roundover bit for durability and comfort.
- Verify fasteners can slide in their slots so the top moves without stress.
- Vacuum and wipe surfaces to remove dust before finishing.
- Confirm the assembly sits flat; shim or adjust as needed for an even reveal.
Finishing Touches, Color, and Styling
A careful finish plan makes the surface durable and the color consistent across grains.
Sanding roadmap
Sand the entire piece from coarse to fine grit so the surface reads uniformly. Start around 80–100 grit, move to 120–150, then finish with 220 for a smooth top that accepts finish evenly.
Use fresh sandpaper and light pressure. Sand legs, apron, and top the same way so the look stays cohesive. Vacuum and tack cloth between passes to remove dust.
Finishes that protect and enhance
Choose a finish based on use. Danish oil deepens grain and gives a warm color. Paste wax adds a soft luster and quick touch-upability. A clear coat offers higher protection if the piece sees heavy wear.
Always test on an offcut or hidden area and follow manufacturer dry times to avoid streaks.
Custom filler and minor repairs
Mix fine sawdust from your final sanding with wood glue to match tone for small gaps and miter seams. Pack the paste with a putty knife, let it become tacky, then sand flush so it picks up native dust and blends near invisibly.
Design variations and styling
Consider metal legs, a glass overlay, or a shelf to shift the style. Style the finished piece with a tray, a low stack of books, and a small vase to create a balanced place for daily use.
- Follow a grit progression and clean dust thoroughly before finishing.
- Test color, then apply even coats and respect full dry times.
- Plan care: coasters, periodic re-waxing, and quick wipe-ups keep the piece fresh.
Conclusion
Close the build by walking through a final checklist that ensures fit, function, and finish. ,
You completed each step in this guide and turned raw boards into a dependable coffee table that balances character and performance.
Check that legs, frame, and tabletop align, that fasteners allow movement, and that old holes are repaired and sanded. Confirm the top reads smooth and the surface accepts your chosen finish.
Now style the piece for your home—add books, a tray, and a vase—and plan simple care so the project stays a welcoming place for daily use.