
Did you know that over 9 million refrigerators are discarded in the United States each year? Most of these bulky appliances end up in landfills, taking up space and harming the environment. But what if you could give that old fridge a new life?
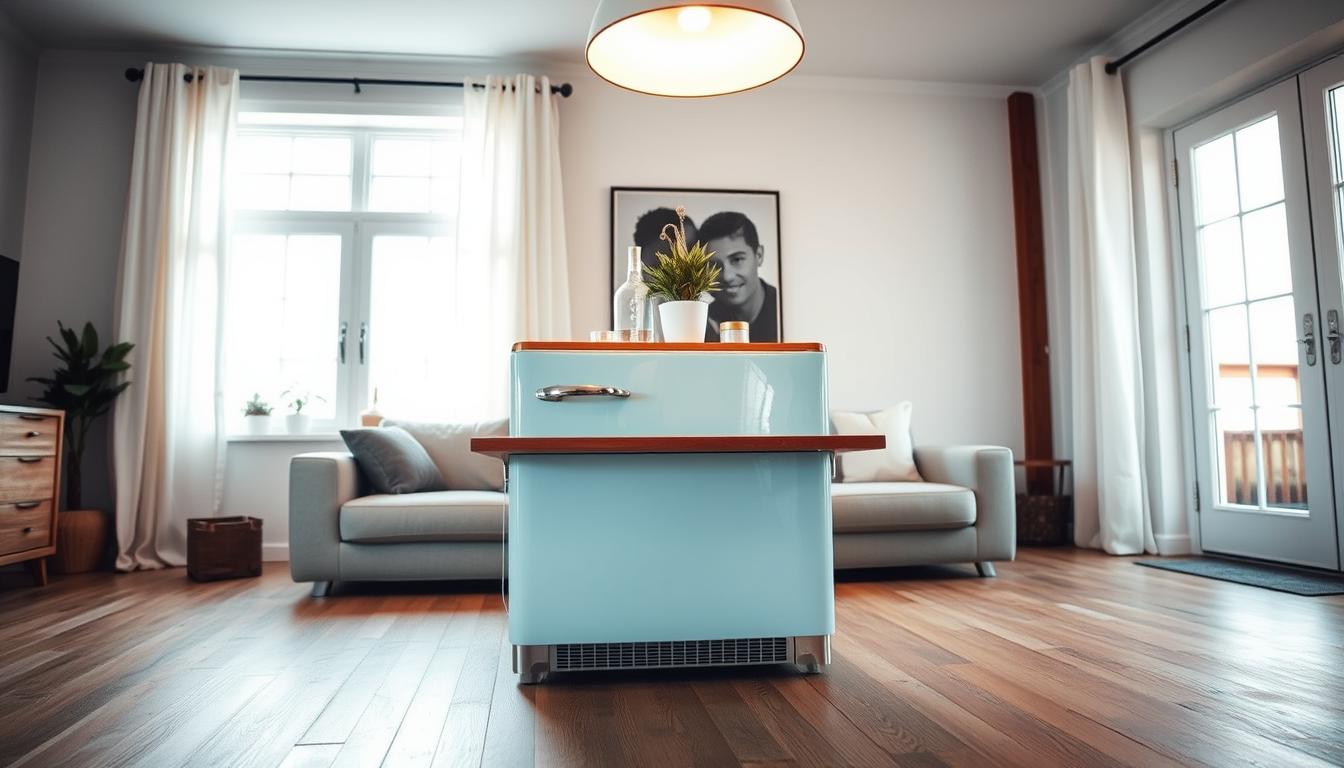
This creative furniture project turns an unwanted appliance into a stunning centerpiece for your living room. You’ll discover how to transform something destined for the dump into a functional and stylish piece.
The process combines practical woodworking with imaginative design. You’ll work with the refrigerator’s existing structure, including its durable metal frame and built-in storage compartments. These features provide unique advantages for creating stable and useful furniture.
This guide walks you through every step with clear instructions. You’ll learn about safety considerations, necessary tools, and design possibilities. The transformation results in a conversation-starting piece that perfectly matches your home’s aesthetic.
Beyond the creative satisfaction, this project offers an environmentally responsible alternative to disposal. You’ll reduce waste while gaining custom furniture that reflects your personal style. The journey combines craftsmanship with sustainability.
By the end, you’ll have a one-of-a-kind piece that showcases your skills and creativity. This isn’t just about building furniture—it’s about rethinking what’s possible with items others might overlook.
Key Takeaways
- Transform an unused appliance into functional living room furniture
- Utilize the refrigerator’s built-in storage and durable structure
- Follow step-by-step guidance for safety and best results
- Create an environmentally friendly alternative to landfill disposal
- Develop custom furniture that matches your home’s style
- Combine woodworking skills with creative design thinking
- Achieve a unique conversation piece for your space
Planning and Materials for Your Project
The foundation of any great furniture project lies in thorough preparation. This phase ensures your safety and determines the quality of your final piece. Proper planning saves time and prevents costly mistakes during construction.

Gathering Tools and Supplies
You’ll need specific tools to dismantle and prepare the appliance safely. Essential items include screwdrivers, wrenches, safety gloves, and protective eyewear. A drill with various bits helps with disassembly and reassembly.
Your materials list should feature wood for the surface and finishing supplies. Consider wood stain or paint for the final look. Reinforcement items like screws, brackets, and wood glue ensure durability.
Proper workspace planning is crucial for efficiency. Ensure you have adequate room to maneuver the appliance components. Good ventilation is important for any painting or staining work.
Assessing the Fridge’s Structure
Carefully examine the appliance’s current condition before beginning. Check for rust, structural damage, and sharp edges that need addressing. The frame’s stability determines whether it can support your design.
Your assessment should answer critical questions about weight capacity. Measure dimensions accurately to ensure the final piece fits your space. Remove hazardous components like electrical wiring and plastic insulation.
This evaluation phase helps you anticipate challenges and budget appropriately. Establishing a realistic timeline prevents rushing through important safety steps. Thoughtful preparation leads to a functional and beautiful result.
DIY Coffee Table Hacks: Repurpose an Old Fridge into a Table
The transformation process begins with careful disassembly of the appliance’s components. This phase requires attention to detail and proper safety measures. You’ll work systematically to prepare the structure for its new purpose.

Step-by-Step Disassembly and Preparation
Start by safely disconnecting all electrical parts from the unit. Remove doors and extract internal shelving that won’t contribute to your final piece. This initial step ensures a clean slate for your project.
Thoroughly clean all metal surfaces inside and out. Remove any lingering odors or residue from the appliance’s previous life. Proper cleaning prevents future issues with your finished furniture.
Carefully trim away unnecessary portions of the body if needed. Keep the structural frame intact while removing excess bulk. Sand all surfaces and smooth sharp edges for safety.
Constructing a Stable Table Base
Reinforce the bottom frame with additional brackets or supports. This ensures the structure can safely hold the weight of your surface and items placed on it. Stability testing at this stage prevents future issues.
Install quality furniture legs or industrial casters for proper height and mobility. Choose options that provide both function and style for your living space. Test the base to ensure it sits level without wobbling.
This construction time is critical for durability and safety. A well-built foundation ensures your finished piece will serve you well for years. The effort invested now pays off in long-term satisfaction.
| Preparation Step | Materials Needed | Time Estimate | Safety Considerations |
|---|---|---|---|
| Electrical Disconnection | Screwdrivers, Wire Cutters | 30 minutes | Wear insulated gloves |
| Surface Cleaning | Degreaser, Cloths | 45 minutes | Use protective eyewear |
| Frame Modification | Metal Saw, File | 60 minutes | Work in ventilated area |
| Base Reinforcement | Brackets, Screws | 90 minutes | Secure workpiece properly |
Your coffee table project benefits greatly from this careful preparation. The time invested in proper disassembly and base construction ensures a quality finished piece. Each step brings you closer to creating a unique furniture item.
Design and Finishing Touches
Creative design choices and careful finishing techniques elevate your project from functional to exceptional. This phase transforms the basic structure into a polished piece that complements your living space.
Choosing a Suitable Tabletop Material
Selecting the right surface material impacts both aesthetics and durability. Oak provides a classic, sturdy option that stains beautifully. Glass creates a modern look while showcasing the unique base.
Professional Finishing Techniques
Proper sanding creates a smooth foundation for your finish. Apply multiple thin coats of stain or paint for even coverage. Seal with protective polyurethane for long-lasting durability.
Incorporating Kitchen and Living Room Styles
Bridge the gap between the appliance’s origin and its new purpose. Exposed metal edges create industrial appeal. Warm wood tones soften the look for traditional spaces.
| Material Type | Durability | Maintenance | Style Match |
|---|---|---|---|
| Oak Wood | High | Moderate | Traditional |
| Tempered Glass | Medium | Easy | Modern |
| Epoxy Resin | High | Easy | Contemporary |
| Reclaimed Wood | Medium | High | Rustic |
Your finishing decisions answer both practical and aesthetic needs. The right combination creates furniture that reflects your personal views.