
Did you know that nearly half of all U.S. households struggle with a lack of usable surface area and hidden storage? This common challenge leaves living spaces feeling cluttered with remotes, tech gadgets, and board games.
A well-proportioned centerpiece, typically standing 16 to 18 inches high and 36 to 48 inches long, fits perfectly with most seating arrangements. This project transforms that essential piece into a smart organizational solution.
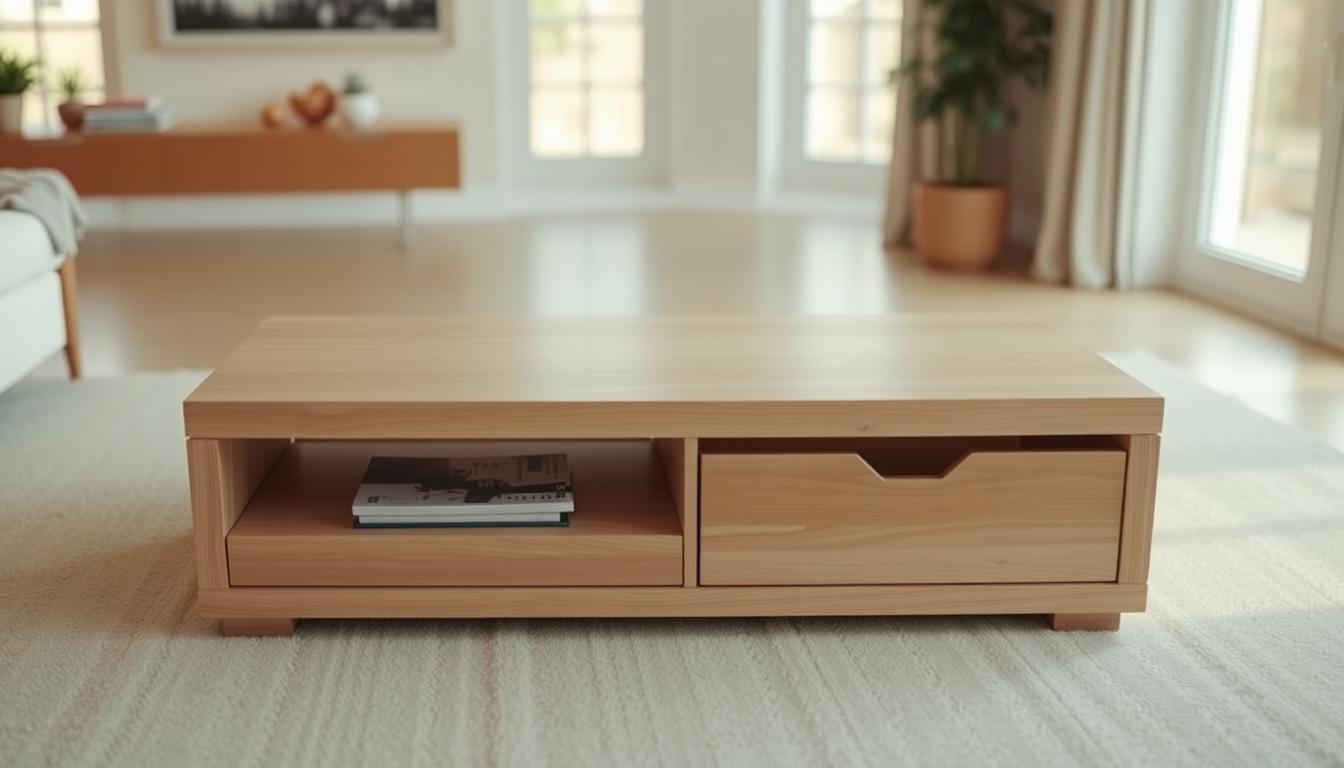
You can build a custom piece that combines daily function with clever concealed compartments. This approach reduces visual clutter and creates a tailored focal point for your room. It reflects your personal design aesthetic while solving a real-world problem.
This guide will walk you through the entire process. You will learn about planning, precise measurements, material choices, and construction techniques. We will also cover finishing methods and long-term care to ensure your creation remains both beautiful and functional for years to come.
Key Takeaways
- A significant number of American homes need better organization for tech and entertainment items.
- Standard furniture dimensions ensure your new piece fits well in most living areas.
- Building a custom unit allows you to merge surface space with hidden storage compartments.
- This approach helps declutter your room and maintain a clean, stylish look.
- The project results in a personalized item that serves a practical purpose every day.
- Proper planning and construction are key to creating a durable and attractive piece.
Planning and Designing Your Project
Effective planning is the most critical step in your build. It ensures your final piece is both functional and perfectly tailored to your space.

Identifying Your Storage Needs
Start by gathering every item you want to store. Think about remotes, board games, laptops, chargers, and throw blankets. Measure these objects. This step helps you create compartments that fit perfectly.
Decide on the best storage method. Drawers are great for small, frequently used items. A lift-top section offers easy access for larger objects. Internal dividers keep things organized.
Sketching Your Custom Design
Create simple sketches from the front, side, and top. This visual plan prevents mistakes later. It shows how all the pieces fit together.
Next, make a precise cut list. This list accounts for every piece of wood needed. Accurate measurements here save material and reduce waste.
Finally, consider the room. Check clearances near your sofa to avoid blocked legs. Plan the lid’s swing so it opens freely. Account for rugs or vents that might affect the footprint.
Essential Measurements and Space Considerations
Getting the proportions right is the foundation of a successful furniture project. Your new piece must feel like a natural extension of your room, not an afterthought.

Start with the standard height range of 16 to 18 inches. This measurement aligns the surface with most sofa seats. It creates a comfortable reach for drinks and books.
Standard Dimensions and Layout Tips
Measure your sofa’s length carefully. Aim for your piece to be about two-thirds this measurement. This ratio provides visual balance and maintains clear walkways.
Remember the golden rule: measure twice, cut once. Check both seating height and available floor space. These baseline numbers ensure your creation feels intentional.
Don’t forget to verify clearance on each side. Leave enough room for legs and movement. This prevents awkward reaches and blocked pathways.
As one designer notes,
Good proportions are invisible until they’re wrong.
Your final step should be a walk-around test. Imagine daily use and guest traffic to confirm your dimensions work in practice.
Gathering Materials and Tools
Assembling the correct materials and tools is the first tangible step toward bringing your design to life. The right choices here ensure a smooth construction process and a durable, high-quality result.

Your selections will directly impact the project’s strength, appearance, and functionality. We will break down the essential components into two key areas.
Choosing the Right Wood and Hardware
Your primary decision involves material selection. You can use 3/4-inch sanded plywood for stable, cost-effective panels. Alternatively, solid wood species like oak or maple offer beauty for visible surfaces.
Different thicknesses serve specific purposes. Use a thicker board for the main frame and a thinner one for internal parts. This approach maximizes stability while managing weight.
Strong joints rely on quality wood glue and appropriate screws. Essential hardware includes hinges, drawer slides, and handles. A magnet lock can provide a clean look for hidden compartments.
| Component | Plywood Recommendation | Solid Wood Recommendation |
|---|---|---|
| Table Top & Frame | 3/4″ Sanded Plywood | 1×6 or 1×8 Board (Oak, Maple) |
| Drawer Sides | 1/2″ Sanded Plywood | 1/2″ Milled Stock |
| Drawer Bottom | 1/4″ Sanded Plywood | 1/4″ Plywood or Hardboard |
Safety Gear and Power Tools
A circular saw is ideal for making long, straight cuts in sheet goods. This type of saw is a workshop staple for breaking down large panels accurately.
Your drill is crucial for creating pilot holes and installing hardware. Clamps are indispensable for holding assemblies square while the wood glue sets.
Never overlook personal protection. Wear safety goggles, gloves, and a dust mask. This gear protects you from flying debris and fine particles during cutting and sanding.
Step-by-Step Construction of the Base and Frame
Building a solid foundation is crucial for ensuring your furniture piece remains stable and durable over time. This stage transforms your prepared materials into a structural framework that will support daily use.

Building a Square, Stable Foundation
Begin by cutting four equal-length legs using your table saw. This initial step ensures consistency across all supporting components. Rip solid wood boards to specific widths for different frame elements.
Dry-fit all pieces before applying any glue. Check alignment and measure diagonals to confirm the frame is perfectly square. This careful preparation prevents structural issues later in the process.
Using Pocket-Hole Joinery for Strength
Drill two pocket holes at each end of your stretchers. This technique creates strong, hidden joints that resist lateral forces. The pocket holes allow screws to pull components tightly together.
Apply wood glue at critical joints before driving screws. Use clamps to maintain alignment while the adhesive cures. Pre-drill pilot holes in hardwood to prevent splitting during assembly.
Position support beams between long aprons for added rigidity. Install cleats where interior shelves will anchor. Each piece contributes to the overall stability of your foundation.
Creating Hidden Storage Compartments and Drawers
Well-designed interiors separate amateur builds from professional-quality furniture. The hidden spaces inside your piece should be as thoughtfully planned as the exterior.
Begin by planning your interior layout. Create shallow trays for remotes and controllers. Design mid-depth areas for games and laptops. Include deeper compartments for blankets.
Designing Compartments for Remotes and Tech
Cut and label all side panels, front, and back pieces. Route dados to seat the bottom panel securely. This technique ensures your structure remains square.
Add dividers and braces to prevent item shifting. These create neat, organized zones for chargers and electronics. Apply wood glue at joints for extra strength.
Constructing Smooth-Operating Drawers
Rip 1/2-inch plywood into 4-inch-wide strips for drawer sides. Cut pieces to precise lengths: 19 inches for sides, 12 5/8 inches for front and back.
Assemble using wood glue and 1.5-inch brad nails. Position the front and back inside the sides. This creates a strong joint.
| Step | Component | Measurement | Assembly Notes |
|---|---|---|---|
| 1 | Side Panels | 19 inches | Cut 4 pieces from 1/2″ plywood |
| 2 | Front/Back | 12 5/8 inches | Cut 4 pieces, adjust for hardware |
| 3 | Bottom Panel | Custom fit | Use 1/4″ plywood, pin with brads |
| 4 | Drawer Slides | Match heights | Shim bottom slide up 1/4 inch |
Measure the assembled drawer box and cut a 1/4-inch plywood bottom. Apply a thin bead of glue around the perimeter. Pin the bottom with 5/8-inch brads while squaring.
Install drawer slides at matching heights. Test travel before final assembly. Use precise shimming for smooth operation.
Techniques for a Professional-Looking Finish
Proper finishing transforms your build from a construction project into a polished piece of furniture. The final steps determine how your work will look and feel for years.
Sanding and Prepping Surfaces
Begin with thorough sanding using progressively finer grits. Start with 80-grit paper to remove major imperfections. Move to 120-grit for smoothing, then optionally 220-grit for a silky feel.
Apply edge banding to raw plywood edges for a clean look. Iron on the veneer strip to activate the adhesive. Trim the excess carefully with a dedicated tool.
Wipe all surfaces with a damp cloth after sanding. This removes fine dust that could mar your finish. Proper preparation ensures stain and topcoat adhere evenly.
Selecting Stain, Paint, or Topcoat
Choose your color treatment based on the desired aesthetic. Oil-based stains like ZAR Moorish Teak offer rich, warm tones. Water-based options provide easier cleanup and lower odor.
Apply multiple thin coats of your chosen finish for protection. Low-VOC polyurethane works well for durability. Lacquer and varnish are excellent alternatives.
Consider adding trim for decorative appeal. Cut precise miters using a 45-degree sled on your table saw. Dry-fit pieces before attaching with brad nails.
Allow each coat to dry completely before applying the next. Final curing takes several days before loading your piece. This patience ensures a lasting professional finish.
DIY Coffee Table Box Projects: Storage Meets Style Features
Custom-built pieces offer unique advantages that mass-produced furniture cannot match. You gain complete control over every functional detail that serves your specific needs.
Consider how you use your living area daily. A lift-top design creates a raised surface for dining or working. Shallow drawers keep small items organized and accessible. Open shelves display decorative pieces while storing frequently used objects.
The right dimensions ensure your creation fits seamlessly. Standard height ranges from 16 to 18 inches for comfortable use. Length should measure approximately two-thirds of your sofa’s size. This proportion maintains clear walking paths throughout the room.
Household dynamics influence your feature choices. Durable hardware withstands active use by children and pets. Easy-access compartments encourage family members to maintain tidiness. Rounded edges and soft-close mechanisms enhance safety for everyone.
| Feature Type | Best For | Accessibility | Space Efficiency |
|---|---|---|---|
| Lift-Top Surface | Large items, dual-purpose use | Excellent for bulk storage | Maximizes vertical space |
| Shallow Drawers | Small electronics, remotes | Quick daily access | Compact organization |
| Open Shelves | Books, decorative items | Immediate visibility | Flexible arrangement |
| Hidden Compartments | Secure valuables, clutter control | Discreet storage | Clean aesthetic appearance |
Your finished project becomes both a practical organizer and a personalized focal point. It reflects your lifestyle while solving everyday storage challenges effectively.
Enhancing Functionality with Smart Hardware Upgrades
Intelligent hardware upgrades elevate your furniture from basic to brilliant, adding convenience and safety. The right components transform daily interactions with your piece.
Choosing Soft-Close Hinges and Drawer Slides
Select ball-bearing or soft-close drawer slides for quiet, dependable access. These prevent slamming and protect fingers. Choose hardware rated above expected weight for long-term reliability.
Torsion hinges hold their position at any angle. They won’t slam shut and keep the lid open until you close it. Use a torsion hinge jig to mark precise screw locations.
Predrill with a self-centering bit to avoid misalignment. Follow manufacturer templates for perfect installation. This ensures smooth motion over years of use.
| Hardware Type | Best Application | Noise Level | Durability Rating |
|---|---|---|---|
| Standard Drawer Slides | Light use compartments | Moderate | Good |
| Ball-Bearing Slides | Frequently accessed drawers | Quiet | Excellent |
| Torsion Hinges | Lift-top surfaces | Silent | Superior |
Additional upgrades include USB ports for tidy charging and lockable casters for easy movement. Discreet magnet locks secure concealed compartments. Seasonally test and tighten all fasteners to hold everything in place.
Care, Maintenance, and Longevity Tips
Your investment in craftsmanship deserves ongoing care to maintain its value. Consistent attention preserves both appearance and function for years.
Routine Cleaning and Hardware Checks
Dust the top and sides weekly with a soft cloth. For deeper cleaning, use mild soap solution and wipe dry immediately.
Always wipe spills as they occur. Place coasters under drinks to prevent water rings. Avoid harsh chemicals that can damage the finish.
| Frequency | Task | Notes |
|---|---|---|
| Weekly | Surface dusting | Use soft, dry cloth |
| Monthly | Deep cleaning | Mild soap solution only |
| Quarterly | Hardware inspection | Tighten screws and hinges |
| Seasonally | Full maintenance | Check all components |
Maintain stable indoor humidity to prevent wood movement. Inspect drawer slides and hinge mounts every few months. Tighten any loose hardware promptly.
Vacuum inside compartments regularly. Ensure felt pads are in place to prevent scuffing. Rotate decorative items to avoid uneven fading.
Address minor scratches with light sanding and compatible touch-up. Use low-VOC products for any refinishing work. Allow finish to cure fully before use.
Check that glue joints remain secure. The original glue should hold well with proper care. Your careful maintenance ensures lasting beauty.
Conclusion
Your journey from concept to finished piece demonstrates the power of thoughtful craftsmanship. Every careful step ensures your creation stands the test of time.
Before final assembly, confirm all dimensions and test the fit of components. Use quality 3/4-inch plywood and reliable wood glue at key joints. Pre-drill for screws and clamp assemblies while adhesive cures.
Check legs for true alignment to prevent wobble. Apply low-VOC stain or clear topcoat for protection. Allow the finish to cure fully before use.
Maintain your piece by periodically tightening hardware and cleaning gently. Touch up minor wear as needed. Your handcrafted work combines smart storage with personal style.
Take pride in this functional addition to your living space. It reflects your dedication to quality construction and practical design.