
Nearly 70% of handcrafted wooden pieces last more than 30 years when built with simple, durable joinery and proper finishing.
You’ll start by choosing a look that blends craftsman-inspired details with practical methods you can do now. Simple pocket screws, wood glue, and clamps deliver stability without complex joints.
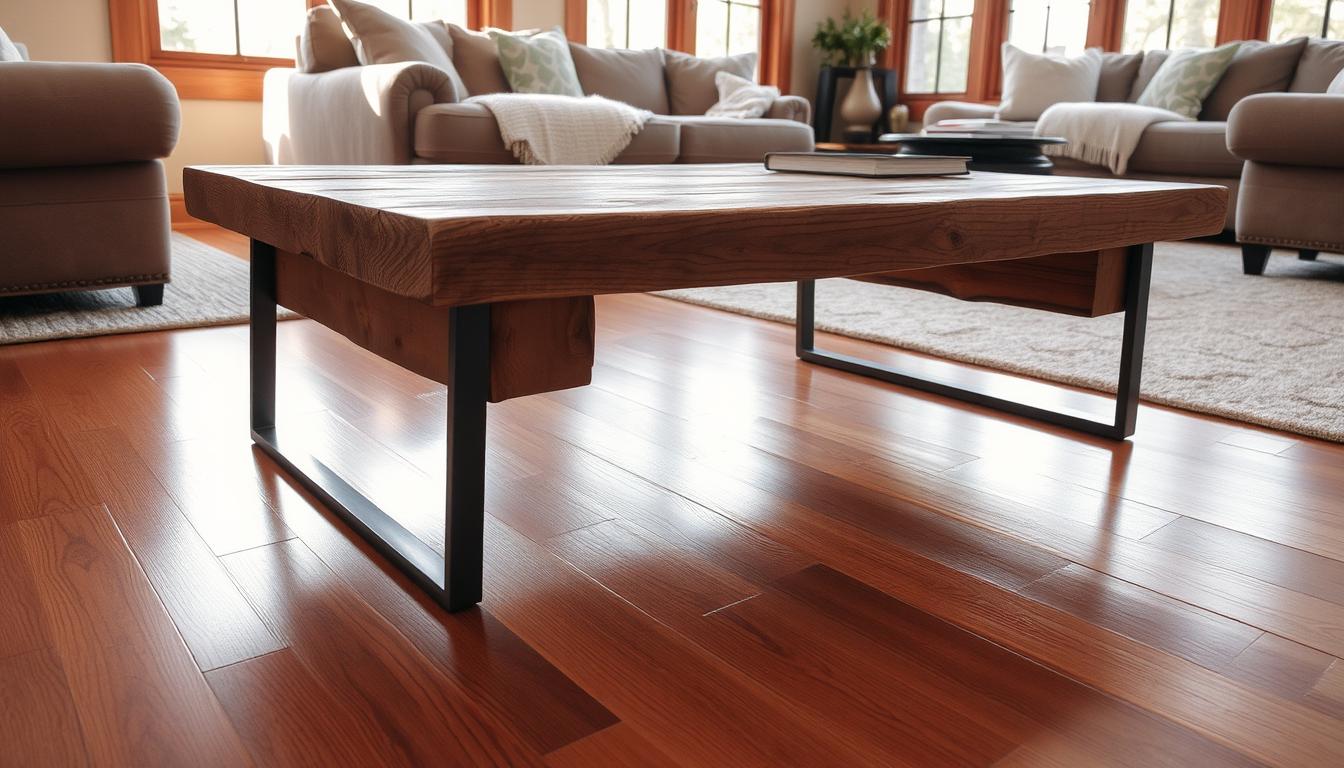
Splayed legs, faux-tenon accents, and breadboard-style ends give a custom feel while keeping the build doable. Plan your proportions so the coffee table fits your space and daily habits.
Gather a pocket-hole jig, miter saw, sander, clamps, and safety gear before you cut. Attach the top with figure-8 fasteners to allow wood movement, and sand through grits before thin coats of polyurethane for lasting beauty.
Key Takeaways
- Choose classic details like splayed legs and faux-tenons to get a custom look without advanced joinery.
- Use simple, proven joinery—pocket screws and glue—for long-term stability.
- Plan dimensions so the table fits your living space and routine.
- Assemble with the right tools and allow for seasonal wood movement with figure-8 fasteners.
- Finish by sanding through grits and applying thin polyurethane coats for durability and sheen.
Plan Your Project: Tools, Materials, and Smart Setup for a Stable Coffee Table Base
Begin by sizing the project to your room so the finished table fits traffic flow and furniture heights. Confirm sofa seat height and plan a coffee table height about the same as the cushion or 1–2 inches lower. Keep at least 18 inches between sofa and table and 24–36 inches for walkways.

Project planning: size, layout, and height
Sketch a quick cut list and a working diagram noting board lengths and widths. Pre-label boards and mark grain direction to speed cuts and keep waste low.
Essential tools and safety gear
Gather core tools: pocket-hole jig, clamps, miter saw, sander, drill, measuring tape, pencil, and safety gear (goggles, dust mask, hearing protection). Test cuts on scrap wood to confirm fence settings.
Materials and cut list basics
Stage 1 1/4-inch pocket screws, wood glue, sandpaper (multiple grits), pine or another species, and protective finish so you don’t stop mid-step. Consider adjustable levelers for uneven floors to improve support.
| Item | Example | Why |
|---|---|---|
| Core tools | Miter saw, drill, jig | Accurate cuts and secure joints |
| Materials | Pine boards, 1 1/4-inch screws, glue | Affordable strength and easy finishing |
| Time | Build + sanding + cure | Plan realistic blocks for each step |
DIY Coffee Table Base Ideas: Strong Foundations For Unique Styles
Start with accurate cuts and a clear layout to keep the frame square and the legs co-planar. Cut parts to length, then drill pocket holes using a pocket-hole jig sized for 1 1/4-inch screws. Label reference faces so boards assemble with consistent grain and flush surfaces.

Simple joinery that lasts
You’ll use pocket holes and wood glue for simple, reliable joints. Clamp parts tightly so glue spreads and screws draw the frame together without gaps.
Build the wood frame
Assemble legs, rails, and crosspieces into a rigid frame. Add faux-tenon blocks aligned with splayed legs to refine the look and keep the side profiles tidy.
Attach the tabletop the right way
Glue and pocket-screw tabletop boards lengthwise, then fit perpendicular breadboards and mitered 1×2 trim. Use figure-8 fasteners to allow seasonal movement and protect the surface.
Sanding and finishing
Sand from coarse to fine grits, remove squeeze-out, then apply multiple thin coats of polyurethane. Lightly scuff between coats for a smooth, durable finish that resists daily coffee wear.
“Pre-drill with a jig and keep legs co-planar; a square frame is the best support for a long-lived table.”
| Step | Action | Why it matters |
|---|---|---|
| Cut & label | Measure, cut to length, mark faces | Keeps boards consistent and reduces errors |
| Joinery | Drill pocket holes, glue, screw | Strong, hidden joints with clean sides |
| Top attachment | Assemble boards, add breadboards, use figure-8s | Allows movement, prevents cracks |
Walnut Tops with Metal Legs: Modern Bases, Durable Support, and Style Options

Walnut offers warm brown tones and a fine grain that resists warping and cracking. It’s easy to care for with a simple oil finish, and it holds up well in a busy room.
Pairing walnut with metal gives you a modern contrast that boosts load capacity and keeps cleaning simple. Steel or aluminum legs add a sleek look and high support without bulky profiles.
Metal leg designs to consider
- Wineglass — elegant flared profile for mid-century looks.
- Cleo — pre-drilled plates and adjustable levelers for quick alignment.
- Udo (U-shape) — powder-coated steel that supports up to 500 lb.
- Wishbone — single pedestal that frees knee space around seating.
- Botas, Python, Namu, Tulipe, Haru (H-shape), Xerxes (X-shape) — varied silhouettes to match your room and size needs.
Choosing height and ensuring stability
Match leg height to seating so the coffee table sits comfortable near sofas. Measure seat height and subtract 1–2 inches for typical comfort.
Use adjustable levelers when floors slope or you have carpet. Levelers protect the top and keep metal mounting plates aligned during installation.
“A well-chosen leg keeps the walnut top centered in the room and the whole piece feeling solid.”
Create a Statement Top: Herringbone Layout, Pocket Holes, and Trimmed Edges
Begin by laying a centerline guide so each herringbone board nests precisely into the pattern. Cut 1×3 pieces at 45 degrees and dry-fit along that center to balance pattern and proportion. Use a light pencil center so you can reposition boards as you test the layout.
Layout and assembly
Alternate pocket hole directions on the backside so the screws pull against each other and the surface stays flat. Glue and clamp 3–4 boards at a time, making manageable subassemblies. Sand each half in sequence: 60, 80, 120, then 220 grits to level and refine the surface.
Trim, stain, and depth
Align the center seam, then screw both halves together with care to protect the visible top. True the outline with a circular saw and straightedge, then add a mitered 1×2 frame for clean edges and a furniture-grade border.
“Wipe a light coat of stain overall, then deepen selected boards to blend tones for a layered, custom look.”
- Test-fit pieces at the center before glue.
- Tune the seam by sanding mating sides to close gaps.
- Apply stain selectively, then seal with thin polyurethane coats and scuff between layers.
Optional: mount the top to plywood for extra stiffness and hide the support with 2×2 trim if you need a thicker profile. Follow each step slowly and keep time for glue and stain to dry for a durable, museum-quality finish.
Conclusion
Wrap up the project by checking alignment, tightening fasteners, and confirming the legs sit level on your floor. Walk the piece around the room and check that the top, sides, and legs meet your design intent.
Verify pocket holes are secure, screws and glue cures are complete, and any figure-8 fasteners allow seasonal movement. Give the top a final light scuff and apply the last thin coat of finish for even sheen.
Final checks: re-level metal plates or adjustable feet, protect the floor with pads, and test stability before daily use. With this short checklist you’ll finish a durable table that fits your space and keeps its look for years.