
Surprising fact: more than half of first-time builders finished a sturdy coffee table using just 2x4s, plywood, screws, glue, sandpaper, and stain.
You built confidence as much as furniture in that first project. A beginner used simple plans, checked measurements twice, and learned to spot a warped board before it caused trouble.
Simple methods let you work with local wood and basic fasteners. The steps focused on careful measuring, clean cuts, and patient assembly so the final table fit a living area and lasted.
The goal was clear: a useful piece that taught real woodworking skills. This article offers approachable projects, practical tips, and inspiration to help you plan, build, and finish a solid table without heavy machines.
Key Takeaways
- Beginner-friendly plans proved that a solid coffee table was within reach.
- Accurate measuring and checking lumber straightness cut rework time.
- Hand-friendly joinery with screws and glue gave reliable strength.
- Materials were affordable and easy to source locally for each project.
- Small, repeatable steps built skills useful for larger builds.
Why build by hand: what to expect from these beginner‑friendly coffee table projects
Building with basic gear sharpens judgment about lumber and joinery faster than theory. Expect straightforward plans and short sessions that let you learn without a full workshop. This approach suits small apartments and shared rooms where space matters.

How the no‑power‑tools approach saves cost, space, and noise
You’ll save money by skipping big purchases and work in a compact area. Sessions are quieter, so late‑evening work won’t bother neighbors. The projects fit weekend time blocks and store between sessions with minimal clutter.
What you’ll learn: measuring, simple joints, sanding, staining, and safe finishing
Core woodworking skills come fast: precise measuring, marking, and steady hand cuts. You’ll practice screw‑and‑glue aprons, dowel leg joins, and cleats that keep each table practical and sturdy.
- Inspect stock for straightness to avoid surprises.
- Sanding by hand prepares wood for even stain and a smooth finish.
- Follow simplified plans so progress is visible and confidence grows.
End result: a usable table that fits your living room and teaches durable skills you’ll use again.
Basic hand tools and materials checklist to get you started
Start with a tight shortlist of instruments and materials to keep costs low and focus on technique.

Essential hand items
- Hand saw for straight cuts and trimming.
- Hand drill or brace with a set of bits for pilot holes and fasteners.
- Block plane for clean edges and a sanding block for smooth surfaces.
- Clamps, a reliable square, tape measure, and a protractor for accurate angles.
Core materials and quick tips
Buy smart: choose straight 2x lumber and a flat sheet of plywood. Sight down each board to spot bow or twist before purchase.
| Item | Purpose | Shop tip |
|---|---|---|
| 2x lumber & plywood | Top, apron, and legs | Check straightness; avoid warped boards |
| Screws & hardwood dowels | Mechanical joints and alignment | Keep multiple lengths and pre-drill pilot holes |
| Wood glue & sandpaper (80–220) | Strong bonds and smooth finish | Match glue to interior use; start coarse and finish fine |
| Stain & wipe-on top coat | Color and protection for daily use | Match stain and finish bases; thin coats dry better |
Optional helpers like a bench hook or miter box speed straight cuts. While a table saw or an orbital sander has its place, hand methods will get the same result with care.
Last note: a small notebook, pencil, and a marking knife keep measurements tidy during assembly. With this checklist, the basic tools and materials will cover most coffee table builds.
No Power Tools? 7 DIY Coffee Tables You Can Make by Hand
Start with a clear overview so each build matches your room and schedule. Pick a plan that fits your living room footprint and leaves walking paths clear.
Quick project snapshot: follow simple plans that simplify steps for beginners. These projects use basic tools and focus on hand-friendly joints so assembly stays straightforward.
Target height varies by function. A gaming design uses a slightly greater height to cut leaning and ease reach. Typical low tables are shorter for relaxed seating.

Time and cost: most builds finish in a few weekend sessions and keep cost low by reusing parts and choosing affordable stock. The sandwich concept—two same-size panels with side supports—creates a stiff core you can assemble without complex machinery.
| Project | Ideal size | Estimated cost / time |
|---|---|---|
| Multifunction game table | Mid footprint, taller height | $80–150 / 8–12 hours |
| Minimalist plank table | Compact top, standard height | $50–120 / 6–10 hours |
| Rustic pallet-style | Wide top, low profile | $30–80 / 4–8 hours |
Build tips: stage pieces for smooth assembly. Pre-finish parts before final assembly to make stain application and edge work cleaner. Rely on screws and glue for strong joints and use simple side supports to hold the tabletop panels together.
Round three‑leg rework: upcycle an old tabletop with sturdy dowel legs
A round tabletop and three hardwood dowels turn into a steady table with simple layout and secure pads. Start by cutting three dowels (about 2.5″ diameter) to 11–12 inches for a low living room height.

Mark and place
Find the center underside of the top and mark three points at 120° with a protractor. This spacing gives a stable stance for the table.
Attach with pads and fasteners
Pre‑drill through small scrap pads, countersink the screws, and fasten each pad to a leg. Then secure the pads to the underside with screws. Add a dab of wood glue at the pad for extra strength and clamp lightly while the glue sets.
Finish and safety
Sand legs and the top progressively before applying stain. Choose gel stain for ease or an oil stain for deeper grain—match oil or water bases between products.
Allow thin coats to dry the specified hours and always spread oily rags flat to dry before disposal.
- Make test cuts on scrap for consistent leg length.
- Reuse a quality wood top and stay under about $75 total cost.
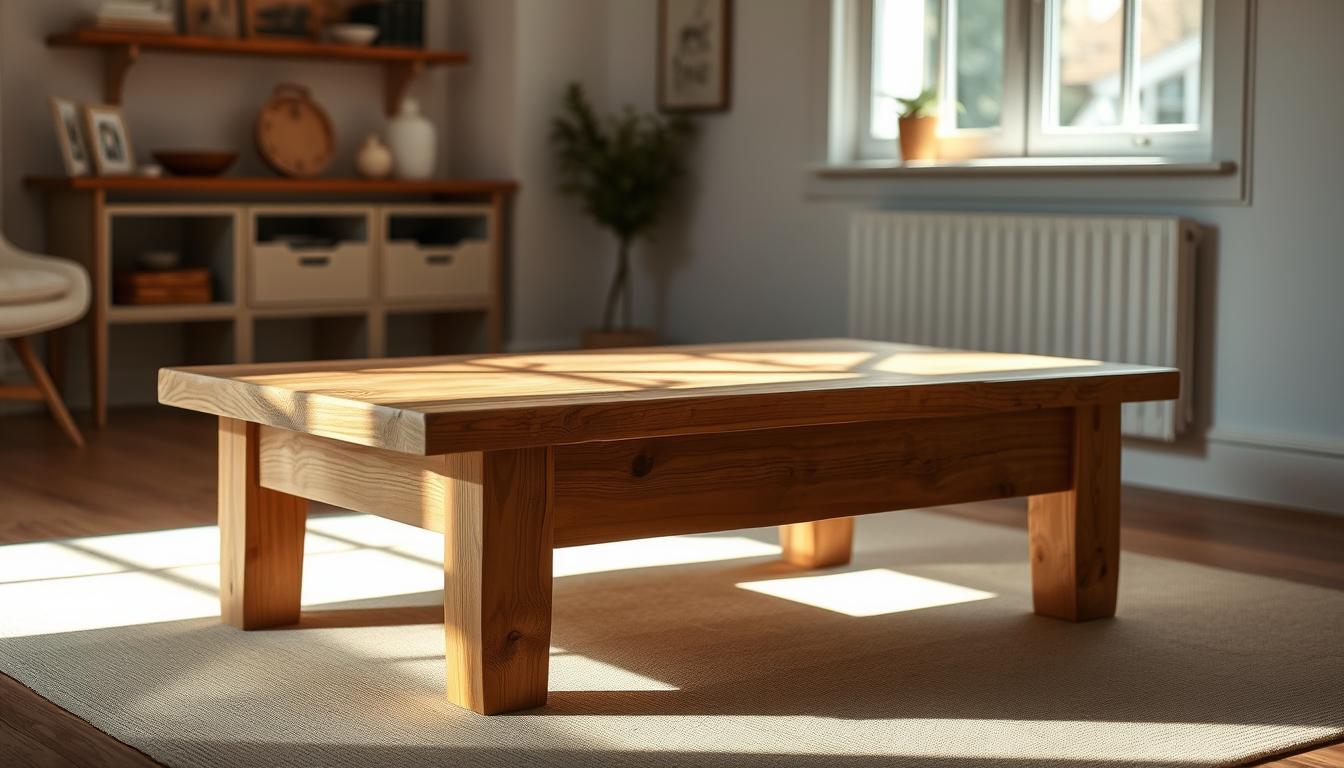
Minimalist plank table: 2x lumber top with simple apron and screw‑and‑glue joints
A rip-free plan keeps the build friendly: only straight crosscuts and pilot holes are needed. Select straight 2x lumber and orient crowns the same way so the top stays flat as boards settle.

Dry-fit all pieces together to confirm size and squareness before you add wood glue and screws. Pre‑drill at apron ends to avoid splitting and to pull joints tight.
Clamp while glue cures and alternate clamp pressure to prevent shifting. Break sharp edges with a block plane or a small chamfer for a cleaner edge that feels better in use.
- Layout consistent overhangs and mark leg locations.
- Pre‑drill pilot holes for screws and attach apron to the top.
- Test stain on off‑cuts, apply thin even coats, then a wipe‑on top coat after curing.
Tip: a quick drill reference and steady clamps turn simple joints into lasting furniture.
| Step | Focus | Why it matters |
|---|---|---|
| Stock selection | Straight 2x lumber | Keeps tabletop flat and reduces cupping |
| Dry fit | Size & squareness | Prevents rework once glue is applied |
| Assembly | Screw‑and‑glue apron | Simple, strong joints for everyday use |
Rustic pallet‑style top on block legs: budget build with character
A pallet-style top on stout block legs brings charm and stability to a small budget build. This approach highlights reclaimed wood and keeps overall cost low.

Select straight slats, de‑nail, and edge‑sand
Source straight, clean slats and fully de‑nail them. Trim ends square with a hand saw for tight seams so each piece fits well.
Lay out boards and alternate tones for a rustic pattern. Apply glue and clamp to form a flat top before fastening.
- Use block legs cut to equal length; confirm height and stability before you fasten the leg plates.
- Knock down rough edge with a sanding block, then refine with an orbital sander motion to avoid swirl marks.
- Add screws from below to reinforce joints without marring the surface.
Keep cost down by upcycling pallets and buying only fasteners and finish. Stain lightly to keep a weathered look, or darken to unify mixed species.
Seal edges where hands touch most and add felt pads under legs to protect floors. For a cleaner result, attach a perimeter trim strip to hide end grain and tidy the edge.
Multifunction “game night” coffee table with hand‑built pullouts
Start with two matching panels and build inward: that layout makes a strong, sandwiched core with side supports between the panels. This approach creates a stable tabletop that resists rattle and stays flat over time.

Layout concept
Place two same‑size thick panels with side supports sandwiched between them to form the main box. This simple frame gives clear spacing for shallow pullouts and hides fasteners under the top.
Hand‑cut trays
Hand‑cut shallow pullouts work as trays for puzzles and gaming boards. Keep them flush with the top so every player sees components easily.
Comfort and height
Choose a slightly taller height than a typical low table to avoid bending. A raised tabletop helps players sit upright and reach pieces without strain.
Storage ideas
Add a lower pullout with simple grid dividers for cards, dice, and remotes. Consider cup holders in a shallow compartment to protect the main surface.
Tip: pre‑drill pilot holes for screws and use wood glue to reinforce critical joints. That keeps pullouts sliding smoothly and prevents wobble.
| Feature | Why it matters | Quick instruction |
|---|---|---|
| Sandwiched core | Rigidity and flat tabletop | Glue side supports between two panels; clamp while curing |
| Shallow pullouts | Extra workspace without clutter | Cut trays to fit clearance; keep them flush at top |
| Grid dividers | Organized pieces and reduced setup time | Glue thin slats into a lower tray for compartments |
| Raised height | Better ergonomics during gameplay | Add slightly longer legs or blocks under each leg |
Compact apartment table: hinged storage top with basic tools
A compact lift-top design turns storage into usable surface without changing a room’s flow.

Design a small footprint with a hinged top to hide remotes and magazines. Keep the size scaled for your seating and walking paths so the room feels open.
Build the carcass with screws and wood glue. Use wood glue along long seams and clamp while it sets. Pilot drill holes to prevent splits and keep joints tight.
Add a piano hinge for smooth access and a shallow tray inside for quick‑grab pieces. Fit simple legs or low blocks to reach preferred height without bulky profile.
Tip: you don’t need a table saw—cut panels by hand and refine edges with a block plane for clean joins.
Finish with thin coats of stain and a protective top coat for daily use. Add felt pads under the legs to protect rental floors and ease moving.
| Task | Focus | Why it matters |
|---|---|---|
| Carcass assembly | Screws + wood glue | Strong seams and flat top |
| Hinge & access | Piano hinge | Smooth, durable opening |
| Finish | Thin stain coats + top coat | Even color and protection |
Outdoor‑ready coffee table: wood selection, joinery, and exterior finish
Selecting the right lumber and finishes decides whether a patio piece lasts seasons or falters after one storm. Start by planning the size and clearance so the table fits patio chairs and leaves room to move.

Best woods for weather
Choose durable species such as teak, mahogany, cypress, redwood, or cedar. These woods resist rot and hold up to sun exposure better than common softwoods.
Pick straight, stable lumber and avoid pieces with heavy checks or end splits. That reduces future warping and keeps the tabletop flat.
Joinery and fasteners
Use exterior‑rated wood glue and corrosion‑resistant screws to keep joints sound outdoors. Space slats with small gaps so water sheds and the surface dries faster.
- Round over edges slightly to reduce splintering.
- Elevate leg bases to avoid standing water and seal end grain.
- Add side stretchers for rigidity on uneven pavers.
Finishes and maintenance
Apply an exterior stain or penetrating oil, then a UV‑resistant protective coat. Follow manufacturer recommended hours between coats for proper curing.
Expect seasonal maintenance: clean, sand lightly, and refresh the finish to extend service life.
Budget for quality finishes; the initial cost is higher, but longevity and fewer repairs make it cost‑effective over time.
Finishes that elevate: sanding, conditioning, stain choice, and top coats
A careful finish turns a good project into a lasting piece that looks shop‑made. Follow a tidy sequence: sand, condition if needed, stain, then protect with thin top coats. This order keeps color even and the surface durable for daily use on a coffee table.
Random vs hand sanding results
Sand progressively by hand, moving from coarse to fine grit. Keep strokes with the grain to avoid cross‑grain scratches that appear after stain.
Mimic a random‑orbit pattern by varying passes and pressure. That reduces visible swirl marks when you do not use a sander or orbital sander.
When to use pre‑stain conditioner
Use a pre‑stain conditioner on blotch‑prone wood before applying liquid stains. Match bases: water‑based conditioner with water‑based stain; oil with oil.
Note: water products often raise the grain—lightly resand before your final stain application.
Top coats: thin, even layers for a lasting surface
Apply stain in thin layers, wipe off excess, and test color on scrap first. Gel stains sit on the surface and often skip conditioner; oil stains penetrate for richer color.
Lay thin, even top coats and build protection with multiple light passes. Clean any squeeze‑out glue before it cures—uncured glue will resist stain and leave pale spots.
Safety tip: dry oily rags flat and fully before disposal to prevent combustion; when unsure, watch a trusted how‑to video for safe handling.
- Pay extra attention to the edge and touch points; these areas wear first.
- Test finishes on scrap from your plans to confirm the look on similar pieces.
| Stage | Action | Why it matters |
|---|---|---|
| Prepare | Sand 120→180→220; remove dust | Prepares an even surface for stain and top coat |
| Condition | Use matching conditioner when needed | Prevents blotchy stain absorption |
| Stain | Thin coats; wipe off excess; test on scrap | Controls final color and prevents dark blotches |
| Top coat | Multiple thin coats; light sanding between | Builds durable, clear protection for daily use |
Conclusion
,
End this series with a few reliable routines that turn lessons into lasting furniture.
Summary: you now have several hand‑tool pathways to a coffee table that fits a living room and your style. Pick a first diy build that suits your timeline and current tools; finishing a single piece boosts skill and confidence quickly.
Reuse tops or off‑cuts to cut cost and hours. Keep a small notebook of measurements and lessons, follow clear plans, and test stain on scrap before final coats.
Tip: watch a short safety or technique video when trying a new step. Celebrate small gains; each successful build becomes fresh inspiration for the next table or furniture piece.