
Ready to craft a lasting dining centerpiece that fits your space and budget? In this guide you’ll follow a clear, professional workflow that covers planning, sourcing, building, finishing, and final assembly.
You’ll learn practical choices used by amateurs and pros alike: Home Depot lumber, Kreg Jig pocket holes, screw-only fastenings, and underframes that keep the top flat and strong.
Expect straightforward tips on selecting straight boards, marking pretty faces, and testing a dry fit before glue or screws. You’ll also compare an X-base with steel brackets versus classic turned legs so you can pick the look that fits your dining style.
Finish advice covers routing edges, using water-based stain, and protecting the surface with matte polyurethane. Whether you pick a fast screw-only route or a refined pocket-hole build, this guide keeps costs realistic and outcomes reliable.
Key Takeaways
- Follow a step-by-step plan that covers sourcing, joinery, and finishing.
- Use Home Depot lumber and Kreg Jig pockets for strong, budget-friendly builds.
- Choose an underframe to prevent cupping and add secure screw points.
- Decide between X-base steel brackets or classic legs for style and strength.
- Finish with water-based stain and matte polyurethane for daily use.
- Beginner and advanced options let you match time, tools, and budget.
Overview: Build a sturdy, rustic dining table you’ll love using every day
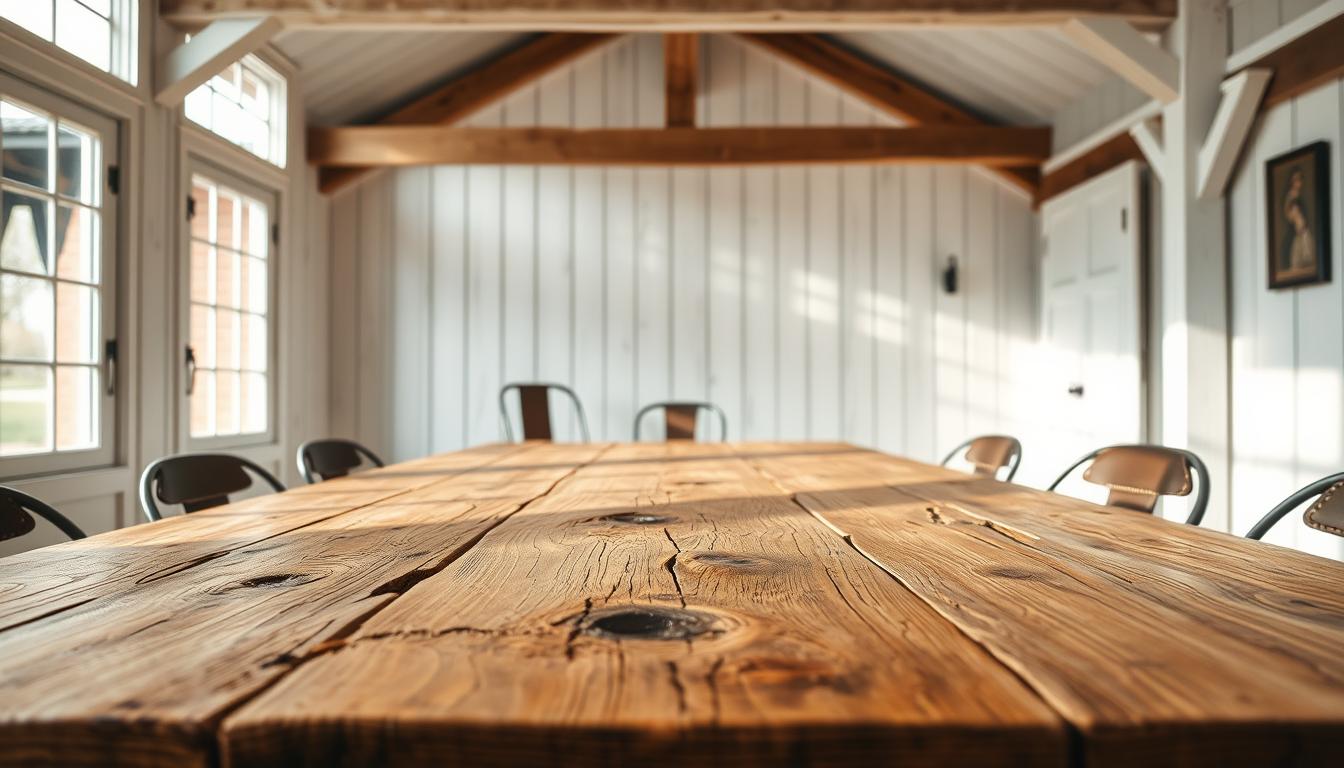
Begin by picturing a table built for daily use—durable, repairable, and ready for real life. Your aim is a sturdy, rustic dining surface that survives meals, homework, and family projects without needing special care.
User intent and what you’ll accomplish
You’ll finish with a usable piece that is level, strong, and comfortable for regular use. Amateur builders reported completing a level, disassemblable base over about a week of spare time. Others finished simple screw-only plans in an afternoon for under $50.

Project scope, skill level, and safety first
The project covers planning, buying lumber, cutting, assembly, and finishing. Some parts are beginner-friendly; others need modest skills and tools. Expect builds that take either an afternoon or several sessions, depending on joinery and detail.
- Safety: wear eye and ear protection, clamp workpieces, and use proper lifting techniques.
- Mobility: a disassemblable base helps move the piece through narrow dining room doors.
- Tools choice: pick a minimalist screw-only route if you have basic tools, or add a Kreg Jig and router for tighter joints and edges.
Set simple success criteria: a level top, secure joints, eased edges, and a durable finish (three thin coats of water-based polyurethane is common for heavy family use). Embrace minor imperfections; straighten essential parts for long-term strength and reliable tables you’ll actually use.
Plan your table: dimensions, seating, and room fit for U.S. homes
Start by matching the table footprint to your dining room and family routines. Take clear measurements of the room and note doorways, traffic paths, and any heaters or furniture that limit placement.
Common size and seating guidelines: choose a length and width that meet your seating goals. For example, a 72–78 inch table seats four to six comfortably. Longer tops handle eight to ten guests with bench seating.

Common dining table sizes and bench heights
Most dining tables finish near 30 inches high; benches are usually 18–20 inches. Taller households may build the top slightly higher for comfort.
Sketching your plan: top view and side elevation for accuracy
Draw a top view to confirm place settings, base footprint, and apron or X-base placement relative to chairs and benches.
Then draft a side elevation. Visualize leg clearance, apron depth, and bench-to-top relationships. Make sure the apron and legs do not block knees or foot space.
| Style | Example length | Width | Height | Notes |
|---|---|---|---|---|
| Large family | 115″ | 46 1/4″ | 30 1/2″ | Built higher for tall family; bench option |
| Stud-length top | 92 5/8″ | 36–42″ | 30″ | Uses 2×6 stud-length boards; efficient cuts |
| Everyday | 72–78″ | 36–40″ | 30″ | Seats 4–6; good legroom with 36–48″ clearance |
Materials and tools you’ll need (Kreg Jig, pocket hole screws, and more)
Gather the right materials and simple tools so your build stays efficient and strong. Below is a concise list that covers lumber choices, hardware counts, and must-have shop gear for a reliable farmhouse-style top and base.

Lumber and legs
Top stock: pick 2x10s or 2x8s for a thick, rustic profile. If you prefer lighter handling, 1×8 pine works well but is softer.
Underframe: stock 2x4s for aprons and cross members. Use 4x4s for sturdy legs or an X-base. Turned table legs from a supplier like Carolina Leg Company are a ready-made option.
Hardware and fasteners
Buy roughly 150 2-1/2″ pocket hole screws for plank joins and a mix of 2″, 3-1/2″, and 4″ wood screws for structure. Add 5″ bolts, washers, and 6″ L-brackets for rigid connections. Keep wood glue on hand for stronger seams.
Tools and optional gear
- Drill/driver and an impact driver for faster work.
- Kreg Jig for pocket joinery and consistent joints.
- Miter saw, clamps, square, and level for accurate cuts and assembly.
- Router (optional) with a round-over bit to ease edges.
Finishing supplies
Stage pre-stain conditioner, your chosen stain (gray or warm tones), and a water-based matte polyurethane for a durable coat. Use 150–220 grit sandpaper for sanding and surface prep, plus clean rags and gloves.
| Item | Example count | Notes |
|---|---|---|
| 2-1/2″ pocket hole screws | ~150 | For plank joins |
| Wood screws (2–4″) | varied | Frame and apron fastening |
| Bolts, nuts, washers | 5″ bolts x4–6 | Legs or center post assemblies |
Tip: lay out materials before you cut. That saves time and prevents waste when you begin drilling and assembly.
Buy better boards: how to select straight lumber and avoid warping
A careful board selection keeps your top tight and limits future warping. Spend time at the lumber rack. That effort saves hours and fixes later.

In-store checks: sight for twist, bow, and crown
Sight down each edge and face to spot twisting or bowing that will make joinery hard. Look for crowning along the length and check for splits or large knots near edges.
Test-fit boards on the floor before you buy
Lay candidate boards flat on the floor and butt the edges together. This shows gaps and misalignment across the full length of your future table top.
- Mix widths and grain patterns intentionally, but keep flatness the priority.
- Mark the pretty side of each board with painter’s tape before drilling pocket holes.
- Choose drier stock; wetter wood moves and can cup after assembly.
- Keep a couple of extra boards in your cart to replace rejects during final layout.
Tip: place straighter edges toward the center and use slightly crowned boards at the edges where you can trim them later.
How to Build a Rustic Farmhouse Table from Scratch: step-by-step
Plan your workshop flow so cuts, drilling, and glue-up happen in batches rather than one piece at a time. This saves time and keeps parts consistent.

Cut list planning: batch your cuts to save time
Batch cuts by length and label each piece. Group identical board cuts and run them through the saw in a single setup. That reduces tool setup and keeps widths and lengths uniform.
Drill pocket holes correctly: Kreg Jig setup and bit depth tips
Set the Kreg Jig for your stock thickness and position the stop collar so the drill bit depth measures to the shoulder, not the tip. This prevents screw tips poking through the top.
Drill pocket holes on the underside of the boards about every 6 inches. Alternate sides along the seam for even draw and a flatter join.
Glue-up strategy: clamping wide boards when face clamps don’t reach
Dry-fit your layout, mark the board order, and start assembly from the center plank outward. Work from the middle so seams pull flat and you control bowing.
Apply wood glue sparingly at edges; too much causes excess squeeze-out and cleanup time. Use clamps and, when clamps can’t reach across wide panels, span the panel with cauls above and below to spread pressure evenly.
“Measure the bit collar to the jig’s stop, then test on scrap before drilling your first pocket hole.”
- Drive the correct screws: 2-1/2″ for 1-1/2″ stock, 1-1/4″ for 3/4″ stock.
- Assemble the underframe separately and attach after the top is flat.
- Check for flush joints, correct pressure, and alignment before glue sets.
| Task | Frequency/Spacing | Tip |
|---|---|---|
| Pocket holes (underside) | Every 6″ | Alternate sides for balanced draw |
| Kreg bit depth check | Before first hole | Measure to shoulder; test on scrap |
| Clamping wide boards | During glue-up | Use spanning cauls and body weight if needed |
| Screw selection | Per stock thickness | Match screw length to material thickness |
Build the tabletop and underframe the right way
Lay out your boards and number each piece so the grain and color flow across the full length of the top. This mockup helps you spot mismatched tones and keeps the final surface balanced.

Board layout and marking the pretty side
Finalize board order and mark the pretty side on every plank. Number the pieces and note orientation so you can reassemble the same sequence during glue-up.
Tip: check the layout from several angles and at room lighting to confirm the grain reads well along the table length.
Breadboard ends versus simple planked ends
Decide on breadboard ends for a framed look or simple planked ends for speed. If you pick breadboards, attach them last so the joint stays tight and end gaps are minimized.
2×4 underframe placement to fight cupping
Build a 2×4 underframe with long rails that span end to end and cross pieces where the base meets the top. Align the underframe to the center line so forces transfer evenly.
Pre-drill holes in the underframe to avoid splitting, add a middle stretcher for squareness, and use pocket hole or screw attachment where needed. Make small side adjustments and verify that fasteners never penetrate the finished faces.
Choose your base: X-base crosspieces or classic turned legs with apron
Pick a support system that balances strength, clearance, and visual weight.

X-base approach: angled 4x4s, center post, bolts, and steel brackets
What it is: an X-base uses angled 4×4 supports that meet at a robust center post and bolt through with 5″ bolts, nuts, and washers.
How you build it: pre-assemble the base, lay out angles, pre-drill and countersink, then fasten 6″ L-brackets and through-bolts. Use a socket wrench and scrap 1×4 pieces to set exact height while you tighten.
Turned leg approach: apron joinery, braces, and pocket holes
Choose turned table legs from a supplier and join them with a 1x or 2x apron. Use a pocket hole jig for clean joins and add interior braces and a bottom stretcher for stiffness.
Glue the apron and drive pocket hole screws from the inside. Route the apron edge if you want a refined profile without losing rustic charm.
Assembly in-room: squaring, leveling, and securing the top
Assemble the base in the room when needed. Square the frame by measuring diagonals, then tighten hardware. Use a socket wrench and final check with a level.
Secure the top from below into the underframe or apron with long screws and confirm clearances so chairs and benches move freely around posts and legs.
| Base style | Hardware | Pros | Cons |
|---|---|---|---|
| X-base with center post | 5″ bolts, 6″ L-brackets, washers | Very stable, strong center support | Heavier; needs room for post |
| Turned legs + apron | Pocket hole screws, glue, interior braces | Classic look; easier chair clearance | Depends on apron strength; requires precise joinery |
| Hybrid (stretcher + post) | Bolts, screws, brackets | Best of both: stiffness and legroom | More hardware; slightly more work |
Sanding, stain, and a durable matte topcoat
A careful finish step turns rough lumber into a durable, pleasant dining surface. You’ll prep the surface, choose color, and protect the top so it survives daily life.
Surface prep: 150–220 grit and easing edges
Begin with sanding at 150 grit, then progress to 220 for a smooth feel. This sanding sequence levels glue lines and readies the wood for color.
Ease sharp corners and edges so the table feels comfortable and reduces finish wear at high-contact spots like corners and edges.
Color workflow: conditioner, classic gray, or warm tones
Apply a pre-stain conditioner, especially on pine, to prevent blotchy absorption. Test your stain on scrap before you commit; this will make sure the tone matches your vision.
Use Classic Gray or a warmer brown, wiping off excess after a set time. Repeat the stain for deeper color if you want richer depth.
Protective finish: thin coats of water-based polyurethane
Brush or pad on thin coats of a water-based matte polyurethane. Three light coats build protective film without glossy shine.
Allow full dry time and scuff lightly between coats if the product recommends it. For a simpler route, consider Watco Danish Oil for an open-pore look, knowing it offers different moisture resistance.
“Three thin coats of water-based polyurethane are a reliable defense against kids, pets, and spills.”
- Key steps: sand 150–220 grit, condition, stain (test and repeat if needed), and apply thin protective coats.
- Maintain the finish with mild cleaners; avoid harsh chemicals that can dull the matte top.
| Step | Material | Result |
|---|---|---|
| Final sanding | 150 → 220 grit | Smooth surface; ready for stain |
| Conditioning | Pre-stain on pine | Even color absorption |
| Stain | Classic Gray or warm tone | Desired color depth (repeat if needed) |
| Topcoat | Water-based polyurethane (3 thin coats) | Durable matte top; resists spills |
Conclusion
How to Build a Rustic Farmhouse Table from Scratch gives you a clear path from plan to finished piece. Before you call the project done, run a short checklist so the top, base, and finish work together.
Verify fit and fasteners: confirm apron alignment, check bolt torque on any center post, and ensure the underframe holds the top flat. If you used a kreg jig, glance at pocket holes and tighten any loose screws.
Finish and care: let the matte polyurethane cure, then use gentle cleaners and felt pads. With these final steps, your dining room piece will stand up to daily life and stay repairable for years.