
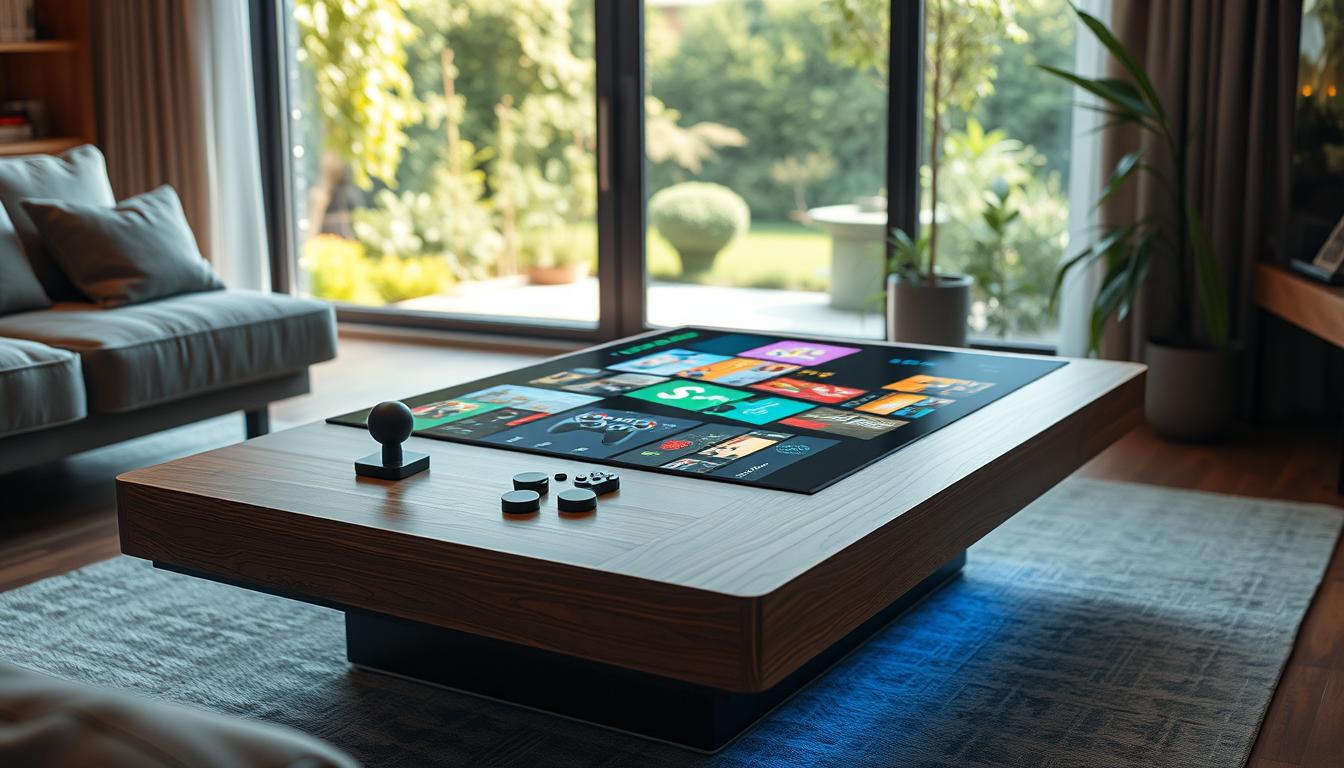
During recent years at home, the average household’s central furniture piece endured a dramatic shift in purpose. It transformed from a simple spot for a mug into the primary command station for digital entertainment. This change revealed a clear need for furniture that could withstand the unique demands of an active entertainment lifestyle.
This guide tackles that challenge head-on. You will learn how to construct a robust and highly functional piece designed specifically for your entertainment needs. The project merges practical construction methods with features tailored for organization and durability.
The result is a stunning focal point for any room. It serves both a vital functional role and makes a strong visual statement. This is not just another piece of furniture; it’s a custom solution built around your way of life.
We will walk you through a logical, step-by-step process. Even those with moderate do-it-yourself experience can achieve impressive results with careful planning. The final product is a rewarding accomplishment that perfectly suits your space.
For more inspiration and detailed plans, explore the resources available at diycoffeetable.com. This project successfully bridges the gap between practical need and personalized style, creating a conversation-worthy centerpiece for your home.
Key Takeaways
- The modern central furniture piece often serves as a hub for entertainment, requiring specialized durability.
- This project focuses on creating a sturdy, custom piece that combines functionality with aesthetic appeal.
- The design addresses the specific organizational needs of an active entertainment lifestyle.
- The construction process is broken down into manageable steps suitable for intermediate skill levels.
- Building this piece results in a highly rewarding, personalized addition to your living space.
- Proper planning is essential for a successful build that meets both practical and visual goals.
Materials and Design Considerations
Material choices and finishing techniques separate amateur projects from professional-quality furniture pieces. Your selection process determines both the durability and visual appeal of the final creation.
Selecting the Right Wood and Hardware
Choose wood that matches your skill level and desired outcome. Hardwoods like oak or maple offer superior strength for frequently used furniture. Softer woods provide easier workability for beginners.
The hardware selection impacts the structural integrity of your piece. Invest in quality fasteners and connectors that can withstand daily use. Consider the weight capacity needed for your specific setup.

Choosing Stains and Protective Finishes
Create a custom finish by mixing Minwax Wood Finish stains. Combine equal parts Classic Gray and Golden Oak for a unique blended effect. Use a plastic container and stir stick to achieve consistent color throughout.
Apply a pre-stain conditioner first to prevent uneven absorption. This step eliminates streaking and blotching on the wood surface. Work in small sections using a stain-specific brush for optimal control.
Wipe excess stain promptly before moving to adjacent areas. Test your custom mixture on scrap wood to verify the final color matches your preferences. This simple precaution ensures satisfaction with your finished piece.
Complete the process with a protective topcoat for lasting durability. This final layer guards against spills, scratches, and daily wear. Your creation will maintain its beauty through years of entertainment use.
Step-by-Step Build: DIY Video Game Coffee Table: Build A Gamer’s Dream Centerpiece
This construction stage focuses on joining the main elements to create the finished form. Your careful preparation now pays off as you assemble the structural components.
Constructing the Table Base and Shelf Boards
Begin by assembling the foundation structure. Connect the shelf boards to create a stable platform for your project.
Ensure all joints are square and secure. This foundation supports the entire weight of the finished piece.
Attaching the Legs and “L” Pieces
Position the legs accurately before securing them. The “L” shaped brackets provide additional stability where needed.
Double-check measurements to maintain proper alignment. These connections determine the overall stability of your creation.
Incorporating Trim and Breadboard Details
Add breadboards to the edges using 2.5″ pocket hole screws. These 3″ wide pieces prevent warping while enhancing the profile.
Secure the top to the base with wood glue and 2.5″ screws. Create a consistent 1″ overhang on each side for visual balance.

The final touch involves decorative trim pieces. Attach 1″ cap moulding or similar trim using wood glue and 1.5″ brad nails.
Apply two trim pieces per side for enhanced visual depth. This technique creates shadow lines that elevate the craftsmanship.
| Tool | Purpose | Recommended Type | Notes |
|---|---|---|---|
| Pocket Hole Jig | Hidden joinery | Kreg or equivalent | Creates strong, invisible connections |
| Brad Nailer | Trim attachment | 18-gauge | Minimizes visible fastener marks |
| Clamps | Assembly alignment | Bar or pipe clamps | Essential for glue-up stages |
| Square | Accuracy verification | Combination square | Ensures perfect 90-degree angles |
Precision in assembly separates temporary solutions from lasting furniture. Each connection contributes to the overall integrity.
Follow your plans carefully throughout this process. The right way ensures your investment of time yields professional results.
Incorporating Gaming Elements and Custom Touches
Personalization transforms functional furniture into a reflection of your unique entertainment lifestyle. This phase allows you to add character while enhancing practical utility.
Consider how each modification serves both aesthetic and organizational purposes. Your choices here determine how well the piece integrates with your daily routine.
Integrating Video Game-Themed Aesthetics
Subtle design elements can reference your favorite entertainment without overwhelming the space. Consider color schemes that complement your existing room decor.
Controller-inspired shapes work well for drawer pulls or decorative trim. These touches create visual interest while maintaining professional craftsmanship.
Custom Storage and Controller-Inspired Designs
The built-in shelf created by the “L” piece construction offers perfect storage for controllers and accessories. Keep everything organized and within easy reach during use.
For valuable items, consider adding drawer units. These protect game cartridges and personal belongings from accidental spills.
Storage baskets fit neatly under the table frame. The original project used larger Pottery Barn baskets that provided ample capacity.
Custom foam inserts cradle controllers securely in drawer spaces. Finish interior surfaces carefully to ensure smooth operation.
Well-designed storage anticipates future equipment needs while organizing current gear efficiently.
Conclusion
Your journey to creating a personalized entertainment hub is now complete. This guide has provided you with the comprehensive knowledge to construct a piece that masterfully blends durability, function, and unique style.
You can access free downloadable plans for exact measurements and assembly diagrams. These resources ensure your project’s successful completion. We also encourage you to post pictures of your finished creation online.
Use the hashtag #shanty2chic to connect with a community of enthusiasts. The skills you’ve learned extend far beyond this single project, equipping you for future endeavors.
Your finished piece is more than furniture; it’s a testament to your skill and a reflection of your passion integrated into daily life. Many thanks for following along, and we look forward to seeing what you build.