
Did you know that the living room furniture you choose can influence the entire feel of your home? A well-chosen centerpiece anchors the space and sets the tone.
This guide is your first step toward creating a unique piece that reflects your personal style. You can build a sturdy and beautiful centerpiece for your living area. This approach gives you complete control over the final look.
You will save money and gain a deep sense of accomplishment. The process is designed to be clear and manageable. Whether you are new to woodworking or have some experience, you will find a suitable plan.
Your finished creation will be more than just furniture. It will be a conversation starter and a point of pride in your household for years.
Key Takeaways
- Building your own furniture allows for full customization to match your home’s decor.
- A handmade piece adds unique character and value to your living space.
- Creating something yourself can be a rewarding and cost-effective project.
- Detailed plans make the construction process accessible for various skill levels.
- The right materials and finishes ensure durability and a classic aesthetic.
- This project can help you develop new skills and confidence in woodworking.
Overview and Inspiration for Classic Home Coffee Tables
Selecting the right centerpiece for your living area involves more than just function. It’s about choosing a piece that reflects a timeless aesthetic. This foundation sets the tone for your entire room.

Understanding the Classic Aesthetic
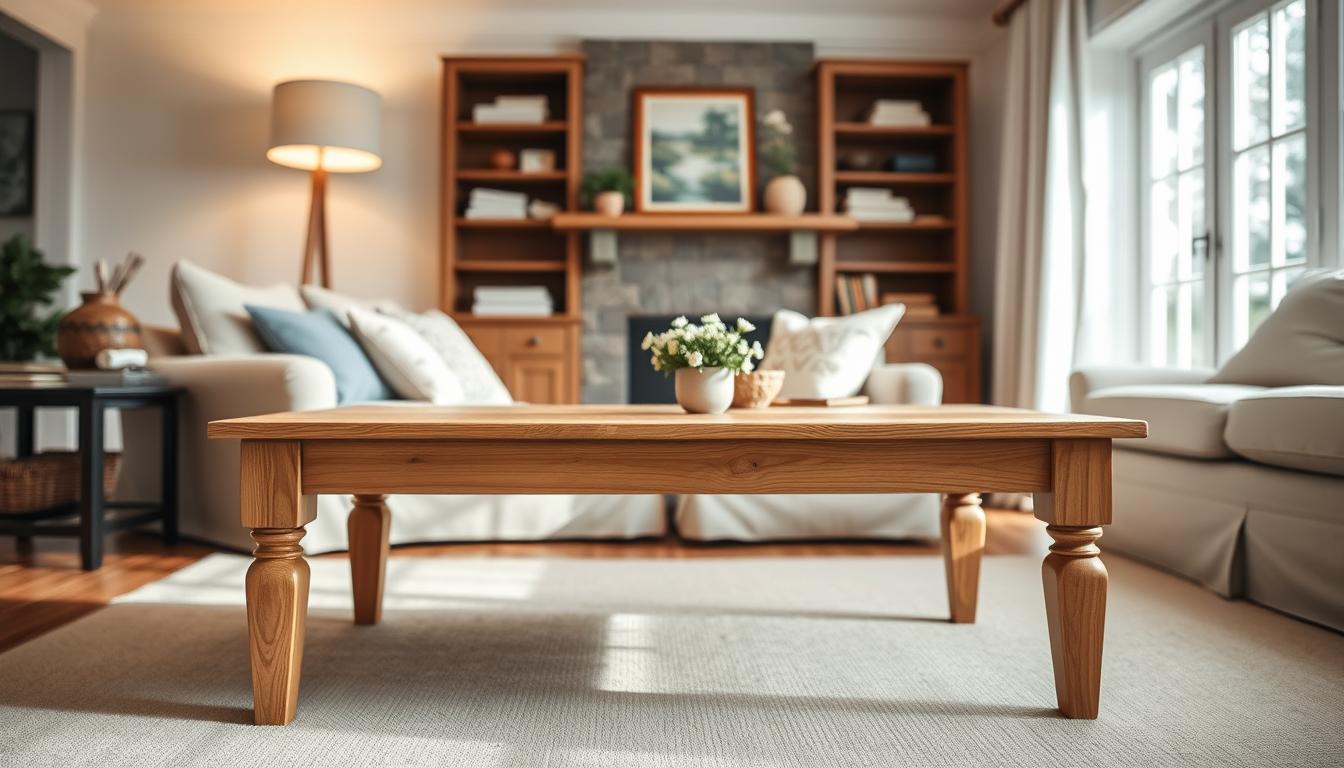
The classic aesthetic in furniture is defined by its enduring appeal. It avoids fleeting trends in favor of quality craftsmanship and balanced proportions. These pieces are built to last, both in construction and design.
You will often notice softer, curved edges instead of sharp corners. This detail creates a more inviting look and adds a layer of safety. The goal is harmony, where every element feels intentional and refined.
Modern Versus Traditional Design Elements
While traditional designs may feature ornate details, modern style leans toward minimalism. Yet, many successful pieces blend these worlds. You can achieve a unique statement by mixing clean lines with warm wood tones.
This fusion allows your furniture to feel both current and timeless. Your living space benefits from this balanced approach. It creates a focal point that is both functional and beautiful.
Understanding these elements helps you make informed choices. Your final piece will be a perfect fit for your home’s character.
DIY Rectangular Coffee Table Projects for Classic Homes
Proper scale and proportion are the foundational principles for integrating any new furniture item seamlessly into your decor. A well-proportioned piece enhances the room’s flow and functionality.
Adapting Designs for Your Space
Measure your available area before selecting a plan. A key guideline is the two-thirds rule. Your centerpiece should be about two-thirds the length of your sofa for visual balance.
The ideal height for comfortable use falls between 16 and 18 inches. This ensures easy reach from your seating. Always leave 14 to 18 inches of clearance around the piece for movement.
Compact designs work best in smaller living rooms. Larger spaces can handle more substantial builds with features like lower shelves.

Personalization Tips for a Timeless Look
Select wood species like oak or walnut to achieve a classic feel. These hardwoods offer durability and a rich grain. Stains that highlight the natural wood create an enduring aesthetic.
Consider subtle decorative elements for a unique touch. Artistic inlays or a tile mosaic can add character without compromising the timeless design. Your choices should complement your room’s existing color palette.
| Consideration | Guideline | Purpose |
|---|---|---|
| Proportion Rule | ~2/3 Sofa Length | Visual Balance |
| Ideal Height | 16-18 inches | Comfortable Use |
| Adequate Clearance | 14-18 inches | Easy Movement |
| Small Room Tip | Compact Design | Maximize Space |
| Large Room Tip | Added Features | Enhanced Function |
Essential Tools, Materials, and Techniques
Quality craftsmanship starts with understanding the tools and materials that bring your design to life. The right selection ensures your creation stands the test of time while maintaining its beauty.
Selecting Quality Wood and Finishes
Choosing the right wood is crucial for durability. Hardwoods like oak and walnut offer superior resistance to daily wear. These materials develop a rich patina over years of use.

Softwoods like pine may dent easily in high-traffic areas. For a farmhouse aesthetic, standard 2×4 and 2×3 boards work well. Always sand the surface thoroughly before applying finishes.
| Wood Type | Durability | Best Use |
|---|---|---|
| Oak | High | Tabletop surfaces |
| Walnut | High | Premium furniture |
| Pine | Medium | Decorative pieces |
Hardware and Fastening Essentials
Strong joints require proper hardware. Wood glue and screws create lasting connections. Corner brackets add stability to the frame.
For outdoor pieces, use weather-resistant finishes on all surfaces. Protect the feet from moisture damage. Your attention to these details ensures long-lasting quality.
Step-by-Step Construction Guide
Following a systematic approach ensures your build progresses smoothly from start to finish. This guide breaks down the process into manageable steps that anyone can follow.
Designer Drew Fisher notes that detailed instructions make even complex projects attainable. Your success begins with proper preparation.
Preparing Your Workspace and Tools
Start by organizing a clean, well-lit area with enough room to work safely. Gather all necessary equipment before beginning any step.
Essential tools include a saw, drill, measuring tape, and safety gear. Having everything ready prevents interruptions during assembly.

Assembling the Table Frame and Base
Cut all boards to specified lengths first. Dry-fit pieces together to verify alignment before applying adhesive.
The table base construction involves creating a rectangular frame from horizontal apron boards. Attach the legs at each corner using strong joinery methods.
Combine wood glue with screws for maximum strength. Check for squareness at each stage using a carpenter’s square.
| Skill Level | Joinery Method | Time Estimate |
|---|---|---|
| Beginner | Pocket screws | 2-3 hours |
| Intermediate | Dowel joints | 3-4 hours |
| Advanced | Mortise & tenon | 4-6 hours |
Allow adequate drying time for adhesive joints. Test the stability of your table base before attaching the top surface.
For more detailed plans and variations, visit diycoffeetable.com. Their resources support builders at every skill level.
Designing a Stylish Tabletop and Base
The surface and foundation of your furniture piece work together to define its character and functionality. Your choices here determine the overall aesthetic appeal.
Creative Tabletop Design Ideas
Creative approaches to the upper surface can transform a simple piece into something special. Consider dimensional patterns using diamond-shaped wood cuts.
These arrangements create intriguing 3-D visual effects. Shadow box styles incorporate hollow spaces beneath glass or acrylic surfaces.
This design provides display areas for meaningful items. Repurposed materials like vintage window panels add unique character.
Incorporating Unique Accents
The supporting structure significantly impacts the final look. Natural elements like driftwood bring organic beauty to your creation.
Consider decorative corner brackets or inlay details for personalized touches. Contrasting wood species add visual interest.
Balance creative elements with timeless proportions. Your piece will maintain its appeal for years without appearing dated.
Styling and Decorating Your Finished Coffee Table
A well-styled centerpiece can transform the entire atmosphere of your living room. It’s the final touch that brings your hard work to life.
Begin with a clean surface to visualize your arrangement clearly. This blank canvas allows you to see proper proportions and plan your decorative elements.
Arranging Decorative Elements Effectively
Apply the “rule of thirds” by mentally dividing the length of your piece into three equal sections. This technique creates a balanced and visually appealing layout.
Place decorative items at the far ends, keeping the center clear for daily use. This approach maintains functionality while adding personality.
Create two distinct clusters of accessories. Layer items of varying heights within each group. Combine tall vases, medium candleholders, and low bowls for dynamic interest.
Stack two or three large books with attractive covers as a foundation. Then, place smaller objects like candles or sculptures on top. Mix materials such as matte ceramics with glossy glass.
Repeat key colors from your room’s palette through small accents. Add greenery in a watertight vase for a fresh touch. Include practical pieces like decorative boxes for storage.
Leave intentional breathing space by removing one item from each cluster. This negative space allows your chosen pieces to stand out and prevents a cluttered look.
Conclusion
Your journey toward a custom-built centerpiece culminates in a piece that reflects your personal taste and skill. You have explored the entire process, from initial design concepts to the final styling touches for your living room.
This guide has equipped you with the knowledge to tackle your next woodworking project with confidence. You can create a furnishing that perfectly fits your space and style. The right materials and careful steps ensure a durable and beautiful result.
Your finished work will be a point of pride for your home. It serves as both a practical surface and a beautiful example of your craftsmanship. Enjoy the lasting satisfaction of creating something uniquely yours.