
Did you know the average American spends over $1,200 on a single piece of living room furniture? That’s a significant investment for something as central as a centerpiece table. But what if you could create a custom, high-quality piece for your home for a fraction of that cost?
This guide opens the door to a world where you become the creator. You can build beautiful, functional furniture that perfectly suits your space without needing a professional workshop or an unlimited budget.
The secret lies in a versatile and cost-effective material. Medium-density fiberboard offers a smooth, consistent surface that is ideal for crafting. It’s a forgiving material for beginners, yet it delivers a professional look when finished properly.
You are about to learn how to transform simple boards into a stunning focal point for your living area. This process is not just about saving money. It’s about gaining the confidence to build something unique with your own hands. Explore more inspiration and guidance at diycoffeetable.com.
Key Takeaways
- Building your own furniture can save you a substantial amount of money compared to store-bought options.
- MDF is an excellent material for beginners due to its consistent quality and ease of use.
- Customization allows you to design a piece that matches your home’s exact style and dimensions.
- This type of project serves as a fantastic introduction to basic woodworking skills.
- With the right guidance, you can achieve a professional-looking finish on your creation.
- Creating your own furniture adds a personal touch and sense of accomplishment to your living space.
Overview of Your DIY Coffee Table Adventure
Have you ever admired a designer furniture piece only to discover its price tag exceeds your monthly budget? This scenario is common when shopping for living room centerpieces. Many people fall in love with high-end designs like the fluted coffee table from Asplund Furniture, only to find prices around $2,700.

Project Inspiration and Objectives
Your inspiration likely comes from seeing expensive designer tables. You realize similar results are achievable with basic techniques and affordable materials. Current trends like fluted details, round shapes, and concrete-look finishes work beautifully with accessible wood products.
Your main objectives include mastering fundamental skills and understanding material properties. You’ll learn proper finishing techniques to create a durable piece. The goal is a custom table that serves your household for years.
How This Guide Transforms Your Living Room
This approach transforms your space by providing knowledge to create a professional-quality centerpiece. You’ll build something that reflects your personal style while maintaining structural integrity. The investment of time yields significant cost savings and a unique conversation starter.
Design possibilities range from sleek modern tables to elaborate projects with storage features. Time commitment typically spans one weekend for simple designs to about 10 hours for complex builds. This makes the project achievable even with a busy schedule.
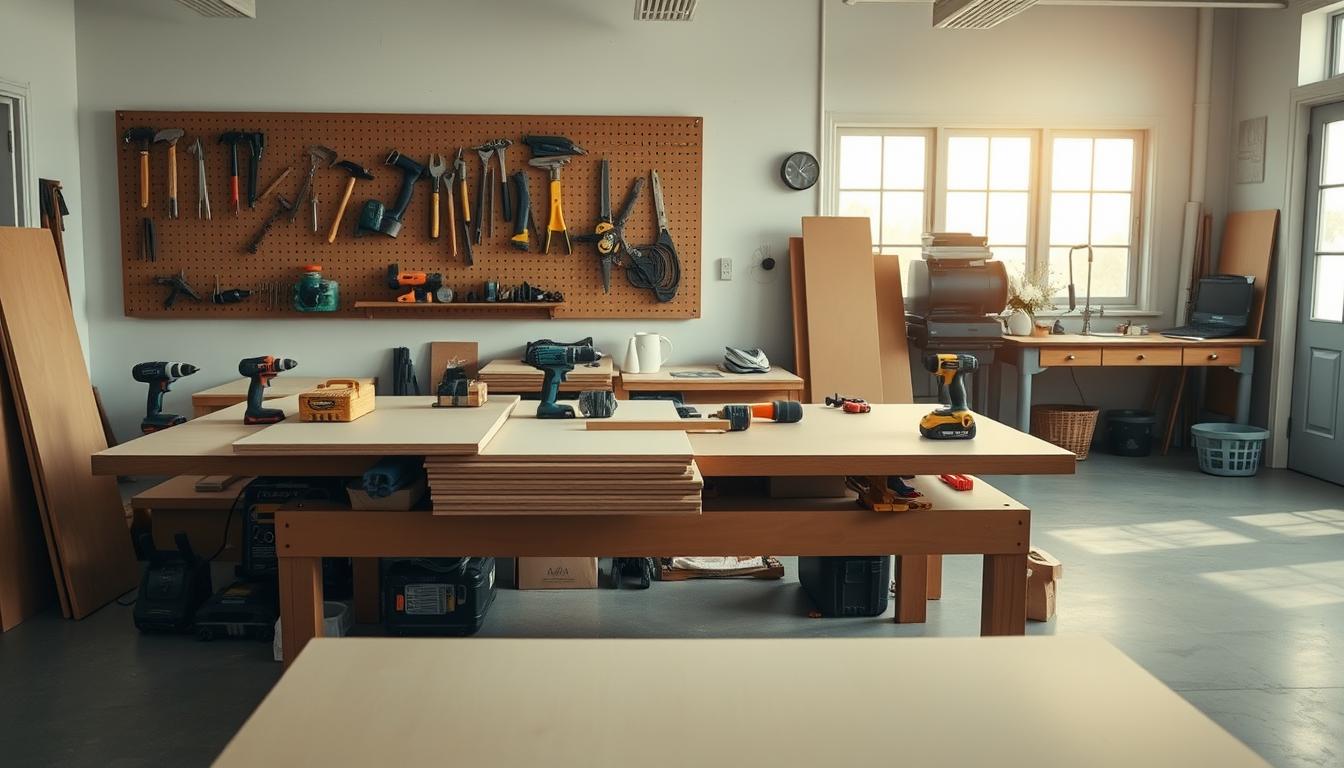
Essential Materials and Tools for Your MDF Coffee Table
Your project’s success hinges on selecting the appropriate components and equipment before making the first cut. Having everything organized saves time and prevents frustration during assembly.
MDF Boards, Wood Glue, Screws, and Additional Hardware
Start with quality medium-density fiberboard in appropriate thicknesses. Thicker boards work well for structural pieces while thinner options suit decorative elements.
You’ll need reliable wood glue like Titebond for strong bonds between MDF pieces. This adhesive penetrates the porous surface effectively.
Your hardware selection should include various screws. Use 2.5-inch wood screws for frame assembly and smaller options for lighter components.
Additional hardware like Figure 8 fasteners allows secure tabletop attachment while permitting material movement. These pieces ensure long-term stability.

Recommended Tools and Consumables
Your tool collection must include cutting implements like a circular saw or miter saw. A power drill is essential for creating holes and driving screws.
Specialized bits like the 5/8-inch Forstner type create clean, flat-bottomed holes for countersinking fasteners. This prevents splitting when installing wood screws.
Consumables play a crucial role in finishing. You’ll need wood conditioner, stain, protective coatings, and various sandpaper grits for progressive smoothing.
“Measure twice, cut once” remains the golden rule for any woodworking project. Proper preparation with the right materials and tools prevents costly mistakes.
| Tool Type | Essential Function | Priority Level |
|---|---|---|
| Circular Saw | Precise cutting of boards | High |
| Power Drill | Creating holes and driving screws | High |
| Forstner Bit | Clean holes for hardware | Medium |
| Long Level | Ensuring flat assembly | Medium |
Measuring devices and clamps complete your setup. These tools maintain accuracy throughout construction and hold pieces together during glue drying.
Understanding MDF and Its Advantages in Furniture Making
When planning your furniture project, the material you choose determines both the ease of construction and the final appearance. Medium-density fiberboard offers unique benefits that make it stand out from traditional wood options.
Benefits of Using Affordable MDF Boards
This engineered wood product provides a perfectly smooth surface without natural grain or knots. The uniform density throughout each board ensures predictable cutting and shaping.
Your pieces maintain dimensional stability, resisting warping from humidity changes. This material accepts various finishes exceptionally well, from paint to specialty treatments like concrete ciré.
René’s project demonstrates this versatility beautifully. He transformed a 22mm circular board with a concrete finish and steel base, achieving a high-end look with affordable materials.
Comparing MDF with Other Wood Options
While solid wood offers natural beauty, MDF compensates with superior workability and cost-effectiveness. Complex shapes like circular tops become accessible projects rather than professional challenges.
The way this material accepts adhesives and fasteners simplifies assembly. However, exposed edges require proper sealing for a polished finish. This makes it ideal for creating durable, attractive furniture.
DIY Coffee Table Projects Using Affordable MDF Boards: Project Essentials
Before you begin cutting materials, thoughtful preparation is your greatest asset. This stage sets the foundation for a successful build that meets your functional needs and aesthetic vision.

Key Design Considerations
Your furniture’s dimensions are critical. For a round piece, aim for a diameter between 28 and 40 inches, depending on your sofa size. Standard height falls between 14 and 18 inches.
Always leave at least 18 inches of clearance around the piece for easy movement. This ensures your creation is both beautiful and practical.
Think about structural integrity. Spans wider than 36 inches need internal bracing. Reinforce edges and corners for lasting durability.
Budget and Material Sourcing Tips
Plan your finances carefully. A sheet of material can cost $30-$60. Add $20-$40 for hardware and $40-$80 for finishing supplies.
Major home improvement stores often provide pre-cut pieces. Some even offer free cutting services, which saves time and improves accuracy.
Your desired style guides material choices. A minimalist look needs clean lines. Rustic or industrial styles may use metal accents.
| Design Element | Consideration | Impact on Build |
|---|---|---|
| Shape | Round vs. Rectangular | Affects cutting complexity and material usage |
| Function | Storage needs | Requires planning for shelves or compartments |
| Style | Modern vs. Rustic | Determines finish type and additional materials |
| Size | Proportion to room | Ensures balance and proper clearance |
Step-by-Step Construction Process
With materials gathered, the building process commences with precise cutting techniques. This phase transforms your design into reality through careful execution.

Preparing and Cutting the MDF Boards
Your first step involves measuring and marking all components according to your design. Use a straightedge and pencil for clear cutting lines. Carefully cut the tabletop to size using a circular saw with a fine-tooth blade.
This approach minimizes chipping along edges. For the internal support structure, cut eight pieces from 2×4 lumber. You’ll need four pieces at 11 inches and four at 12 inches.
Assembling the Table Frame and Legs
The next step focuses on creating the structural foundation. Assemble the frame rectangles by positioning pieces at right angles. Apply wood glue to mating surfaces before driving screws.
Make sure your work surface is level so frames remain square. For the legs, use a hole saw to create uniform rounded corners. Complete straight cuts on your table saw.
Finally, attach legs to each corner using a combination of glue and screws. Verify that all legs contact your work surface evenly. This ensures your finished piece sits stable without wobbling.
Tips for Assembly, Finishing, and Ensuring Structural Integrity
The final stages of your build are where careful attention transforms raw materials into a refined piece of furniture. This phase ensures your creation is not only beautiful but also durable and safe for everyday use.
Sanding, Chamfering, and Surface Preparation
Begin your sanding process with 180-grit paper to smooth all surfaces. Pay close attention to the edges, which often have rough spots from cutting. Progress to a 220-grit paper for a finer surface.
Applying a wood conditioner is a critical step before staining. It ensures even color absorption across the porous material. This prevents a blotchy appearance for a professional finish.
Your first coat of stain or paint needs proper drying time. Lightly sand with 240-grit paper between coats to remove raised fibers. This technique ensures depth and even coverage.
Applying Finishing Touches and Safety Advice
The exposed edges of your material require special attention. You can seal them with extra primer or use wood filler for a smoother surface. This step is key for a furniture-grade look.
Always make sure all glue joints have cured for at least 24 hours. Confirm the piece sits perfectly level on the floor without any wobble. This check is vital for structural integrity.
While not always necessary, a pocket hole jig can create strong, hidden connections. This pocket joinery method is excellent for angled frames.
| Finishing Step | Key Tool/Material | Pro Tip |
|---|---|---|
| Initial Sanding | 180-grit Sandpaper | Focus on smoothing cut edges first. |
| Surface Conditioning | Wood Conditioner | Prevents uneven stain absorption. |
| Protective Coats | Polyurethane | Apply at least three thin coats. |
| Final Check | Level | Verify the top is flat and stable. |
Safety is paramount. Wear a dust mask when sanding and work in a well-ventilated area when applying finish. Rounding sharp corners is a simple way to prevent injuries.
Styling Your New MDF Coffee Table for a Modern Living Room
Your completed creation now deserves a styling approach that enhances its presence in your home. Thoughtful decoration transforms it from a simple functional item into the focal point of your seating area.
Complementary Furniture and Decor Tips
Coordinate your new centerpiece with existing furniture. Consider scale and proportion. A large sofa needs a substantial coffee table to anchor the space effectively.
Accessorize the table top using the rule of thirds for balance. Group items in odd numbers and vary heights. A rectangular tray on a round piece creates pleasing contrast.
Stack books, add a decorative bowl, or place a small vase. These elements add visual interest without clutter. Leave about half the surface clear for daily use.
Personalizing the Look with Unique Finishes
The final look of your tables is highly customizable. Your finish choice defines the character. Traditional stains offer warmth, while modern paints provide bold sophistication.
Specialty treatments like concrete effects create an industrial look. Your selection reflects your personal style. The rest of your living room decor should complement, not compete with, this statement piece.
This personalized approach ensures your diy project perfectly suits your living space. It becomes a unique expression of your taste, far beyond any store-bought option.
Conclusion
Your journey into furniture creation proves that beautiful results come from smart planning and patience. You did not need expensive materials or expert skills. You simply followed clear steps to build something special.
This experience shows how a versatile material can be shaped into a lasting centerpiece. The smooth surface accepts finishes well, creating a professional look. Your new piece will serve your living room for years.
The time you invested brought rewards beyond saving money. You gained confidence and a unique item that fits your space perfectly. The skills you practiced here, like ensuring a level top, prepare you for future projects.
Make sure to care for your creation. Use coasters and clean gently to maintain its beauty. This is just the start. You now have the foundation to build more custom furniture for your entire home.