
Furnishing your living space with a new centerpiece can feel like a major financial hurdle. The average price for a quality living room centerpiece often soars past $400, putting stylish design out of reach for many.
But what if you could create a stunning, functional piece for a fraction of that cost? By embracing a creative weekend endeavor, you can build a beautiful centerpiece for approximately $45 to $120. This approach champions sustainability by using reclaimed wooden platforms often available for free from local businesses.
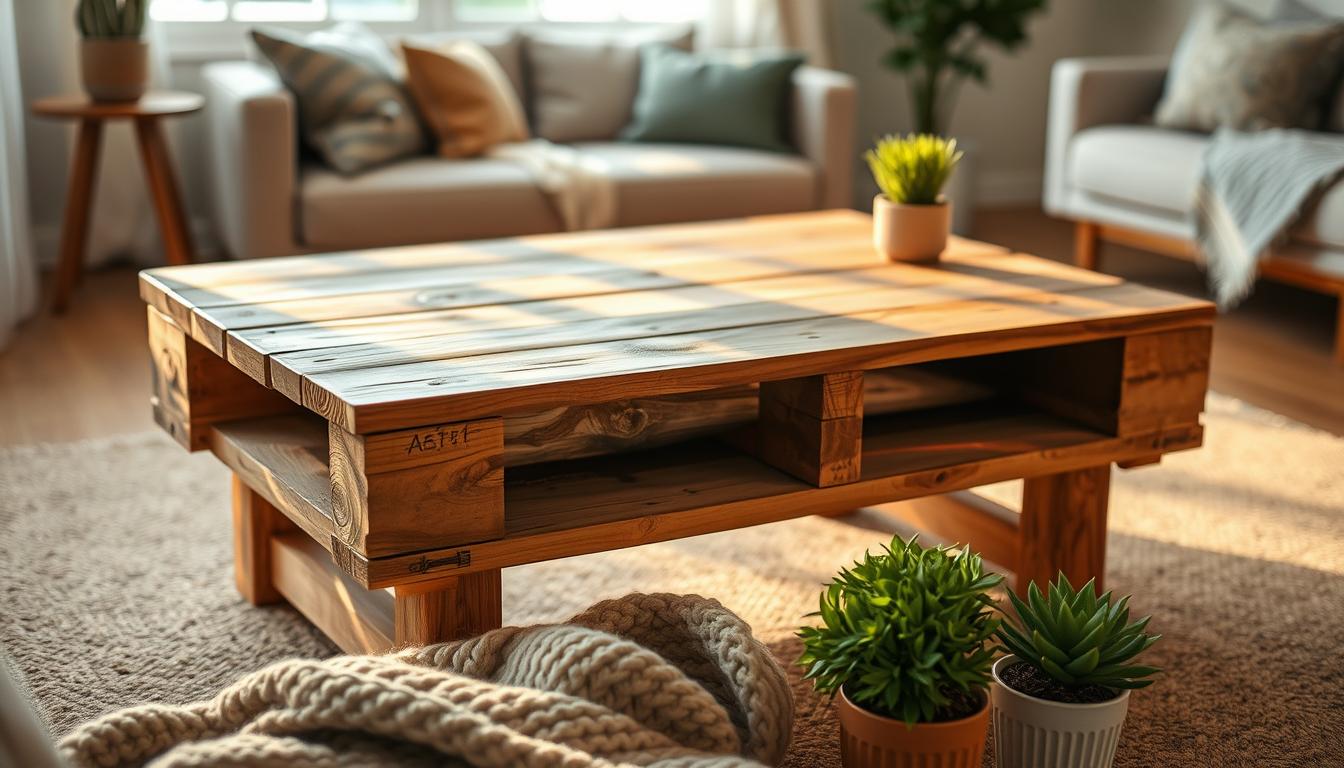
This guide walks you through constructing a unique piece that brings character and history into your home. Each plank of wood carries its own distinct grain and markings, ensuring your creation is truly one-of-a-kind. The process is designed to be accessible, requiring only basic tools and a bit of dedication.
You will discover how to tailor the dimensions to fit your space perfectly, with common sizes ranging from a compact 30-inch square to a more substantial 48-inch long design. This is your chance to craft a centerpiece that reflects your personal style without straining your budget.
Key Takeaways
- Building your own furniture can save you hundreds of dollars compared to store-bought options.
- Reclaimed wood adds unique character and is an eco-friendly material choice.
- This project is suitable for various skill levels, from beginners to experienced makers.
- You can fully customize the size, finish, and features to match your decor.
- The required materials are often low-cost or even free, making it a highly economical choice.
- With basic tools and a weekend, you can achieve professional-looking results.
Project Overview and Benefits
Creating a functional centerpiece yourself connects you with a community that values resourcefulness and individual expression. This project offers more than just a piece of furniture; it’s a pathway to personalized home decor.

Why Build Your Own Coffee Table?
The decision to craft your own coffee table brings significant advantages. You gain complete control over the final product’s size, finish, and style. This ensures a perfect fit for your living room space.
Financially, the savings are substantial. You also develop practical skills and the deep satisfaction of hands-on creation. This approach aligns with a growing movement that celebrates sustainable, meaningful craftsmanship.
| Feature | Store-Bought Furniture | Handmade Creation |
|---|---|---|
| Cost | Often high | Significantly lower |
| Customization | Limited options | Full design control |
| Uniqueness | Mass-produced | One-of-a-kind character |
| Material Story | New lumber | History-rich reclaimed wood |
The Charm of Reclaimed Pallet Wood
Using reclaimed wood, like pallet wood, is an eco-conscious choice. It gives discarded materials a new life. This wood carries a unique history visible in its grain, knots, and nail holes.
These natural markings add authentic character that new furniture cannot replicate. Your coffee table becomes a conversation piece with genuine depth. Always source heat-treated (HT) pallets for indoor safety.
This material choice transforms a simple diy project into a statement piece for your home decor. It brings warmth and history into your living room.
Materials and Tools for Your DIY Build
Gathering the right components is the first critical step toward a successful build. Having everything organized before you start saves time and prevents frustration. This detailed list ensures you are fully prepared.

Essential Materials: Pallet Wood, Boards, and More
Your primary materials will be pallet wood. You need three or four sturdy pallets with long, straight boards. Always choose heat-treated (HT) pallets marked for safety.
Supplementary materials include a 30″x30″ plywood sheet and specific pine boards. For hardware, gather thirty-two 2.5-inch screws, eight 1-inch screws, and twelve corner braces.
Optional items add function and style. Consider lockable caster wheels for mobility. A custom-cut glass top creates a polished surface. Wood glue and your choice of stain complete the project.
Required Tools: Saws, Drill, Sander, and Safety Gear
The right tools make assembly efficient and safe. You need a saw for cutting wood to size. A table saw or circular saw works well.
A power drill is essential for driving screws. An electric sander with sandpaper from 80 to 240 grit creates a smooth finish. Don’t forget a measuring tape and clamps.
Safety is paramount. Always wear safety goggles when cutting or sanding. This basic toolkit is accessible for beginners and ensures professional results.
Preparing and Working with Pallet Wood
Transforming rough pallet wood into refined furniture requires careful attention to the initial processing stages. This preparation phase determines both the quality and longevity of your finished piece.

Safe Pallet Dismantling and Wood Inspection
Begin by carefully disassembling your pallets. Use a reciprocating saw or pallet buster tool to cut through connecting nails. This preserves the integrity of your boards.
Always select heat-treated (HT) pallets marked for safety. Thoroughly inspect each piece for structural issues like rot or excessive splitting. Remove all nails and debris before proceeding.
After dismantling, plane the wood pieces to a uniform thickness of approximately 0.5 inches. Allow the materials to dry for several weeks in a non-humid environment. This prevents warping after assembly.
Cleaning and Sanding Techniques for a Smooth Finish
Proper sanding creates a professional, splinter-free surface. Start with coarse 80-grit sandpaper to remove rough weathered surfaces. Progress through finer grits up to 240 for optimal smoothness.
This meticulous preparation transforms reclaimed materials into furniture-grade components. Though time-consuming, it dramatically improves your final result.
Step-by-Step Construction Process
Assembling the structural skeleton is the most rewarding phase of the creation process. This guide breaks the assembly into clear, manageable steps.

You will build a sturdy foundation for your furniture piece. Follow each step carefully for a professional result.
Building the Frame and Assembling the Base
Start by cutting your four legs to 16 inches each. Next, prepare the frame pieces. You need two at 23 inches and two at 36 inches.
Use a miter saw to create precise 45-degree cuts at each end. This ensures tight, professional-looking joints.
Attach these frame pieces to the legs using wood glue and screws. Check that every joint is perfectly square before the glue sets. This creates a stable box structure.
Integrating Support Beams and Securing Joints
For extra strength, add a support beam across the middle of the frame. Use leftover material from the legs to prevent sagging.
Stack two boards vertically to achieve the proper height. Then, lay the remaining boards horizontally across the top.
Always drill pilot holes before driving your 2.5-inch screws. This simple step prevents the wood from splitting.
Use corner braces with a drill to join the frame components. Add cross pieces at 10 inches and 20 inches for maximum stability.
Finally, close off the ends with additional boards for a clean, finished appearance. Your basic structure is now complete.
| Method | Strength | Ease of Use | Best For |
|---|---|---|---|
| Wood Glue Only | Medium | Easy | Light-duty joints |
| Screws Only | High | Moderate | Structural connections |
| Glue and Screws | Very High | Moderate | Permanent, strong frame |
DIY Coffee Table Pallet: Rustic And Affordable Build For Any Home Final Touches
With the structural work complete, attention turns to the refinements that add both beauty and utility to your project. These final enhancements transform your basic frame into a complete furniture piece that serves as an attractive centerpiece.
Adding Functionality with Legs, Casters, and Mobility Options
Attach your chosen legs to achieve approximately 19 inches total height when including casters. This measurement works well in most living spaces for comfortable access.
Locking caster wheels allow easy movement across rooms while maintaining stability when locked. Available in finishes like antique copper or industrial black, these typically cost $12-30 per set.
Finishing with Stain, Varnish, and Optional Glass Top
Apply two coats of your chosen stain, lightly sanding with 120-grit sandpaper between applications. Options like dark walnut create deep character while clear polyurethane preserves natural wood tones.
A custom glass top cut by local shops adds sophistication and creates a perfect smooth surface. This $100 investment compensates for any slight unevenness in the boards.
Consider adding black-painted corner trim for added style. Optional distressing techniques can create vintage character before applying the final finish.
Conclusion
The finished piece represents more than just furniture—it’s a testament to sustainable craftsmanship. Your pallet coffee table demonstrates significant savings while adding unique character to your home. This project proves that great style doesn’t require excessive spending.
The skills you’ve developed open doors to future creative ideas. Consider building matching side pieces or exploring other wood projects. Share your completed coffee table with online communities to inspire others.
Your custom table stands as personal decor that reflects your vision. This guide serves as a starting point for continued diy exploration. Embrace the satisfaction of creating functional art from reclaimed materials.