
Surprising fact: more than one in three budget makeovers used nothing more than spray paint or new legs to create a boutique look.
You’ll learn how to turn a plain coffee table into a focal point that looks high-end without a long timeline. Simple methods—spray paint on VITTSJÖ, contact paper faux marble for KLUBBO, leg swaps for LACK, or added boards on HEMNES—deliver big change.
This guide shows step-by-step choices so you can pick quick finishes or light woodworking based on your skills. You’ll also get a realistic sequence for prepping, finishing, and reassembling so the piece holds up in your living room.
For model picks and sourcing tips when the nearest store is far, visit our resource page at DIY coffee table ideas and start planning a project that fits your home.
Key Takeaways
- Small changes like paint, new legs, or a surface swap can make a big visual impact.
- Pick a path—quick finish, contact wrap, or light carpentry—based on your time and skill.
- Follow a clear prep, dry, and assembly sequence to avoid chips and weak fittings.
- Choose models and hardware that add utility, such as storage or mobility.
- Test-fit and pilot holes on thin panels to protect the piece for years of use.
Why Hack an IKEA Coffee Table for Your Living Room
Choosing to alter a mass-market coffee table gives you fast rewards: more function, a better fit for your space, and a distinct look that reflects your room.
You get big style gains with small effort. A VITTSJÖ frame sprayed gold with a white lower shelf can read high-end in hours. Wrapping a KLUBBO top in marble contact paper yields a luxe surface without long lead times.
Function matters as much as finish. Swap LACK legs for mid-century profiles, add barn boards to a HEMNES for rustic warmth, or pair two LALLERÖD units on casters for mobile storage that frees floor space.
“Pick a base that’s sturdy and easy to adapt; then match finish and function to the way you use the room.”
- Cost and time: faster and cheaper than custom pieces.
- Custom function: hidden storage, shelves, or casters for small rooms.
- Durability: choose top coats and wipe-clean surfaces for daily use.

| Base Model | Quick Upgrade | Benefit |
|---|---|---|
| VITTSJÖ | Gold spray + white shelf | Glam look with minimal work |
| KLUBBO | Marble contact wrap | Luxury surface, low cost |
| HEMNES / LACK | Barn boards or leg swap | Rustic or mid-century style |
| LALLERÖD | Pair on casters | Rolling storage for tight rooms |
Plan Your Project: Tools, Materials, and Smart Sourcing
Start by assembling a concise kit so each step flows without surprise. Gather painter’s tape, drop cloths, fine-grit sandpaper, degreaser, and a bonding primer. For the VITTSJÖ glow-up, many users used gold spray and Rust-Oleum Ultra Cover 2x White Satin for the shelf; primer cut down coats.

Essential tools and hardware
Stock wood screws sized to avoid penetrating thin panels and keep extra screws and nails for trim. Drill pilot holes to protect the base and prevent splits.
Budget-friendly materials and sourcing
Choose marble contact paper for a quick luxe top, hairpin legs for a mid-century lift, or simple boards for a warm wood surface. Buy online when your local store is far; many IKEA pieces and accessories ship nationwide.
- Make sure you confirm thickness and dimensions before ordering boards or legs.
- Add 1/4″ plywood under new surfaces when the top is thin to anchor screws securely.
- Plan ventilation and multiple light coats of paint for smooth coverage and fewer repeats.
| Item | Why | Quick tip |
|---|---|---|
| Primer | Reduces coats | Use on metal frames |
| Fasteners | Secure new pieces | Label parts in a tray |
| Underlayment | Spread loads | 1/4″ plywood under heavy tops |
DIY Coffee Table IKEA: Hacks To Customize Affordable Furniture
A few targeted swaps can turn a mass-market base into a signature piece for your seating area.
VITTSJÖ glow-up: spray the metal frame gold and paint the lower shelf white. Use light, even passes, allow full dry time, and prime if the finish needs fewer coats.
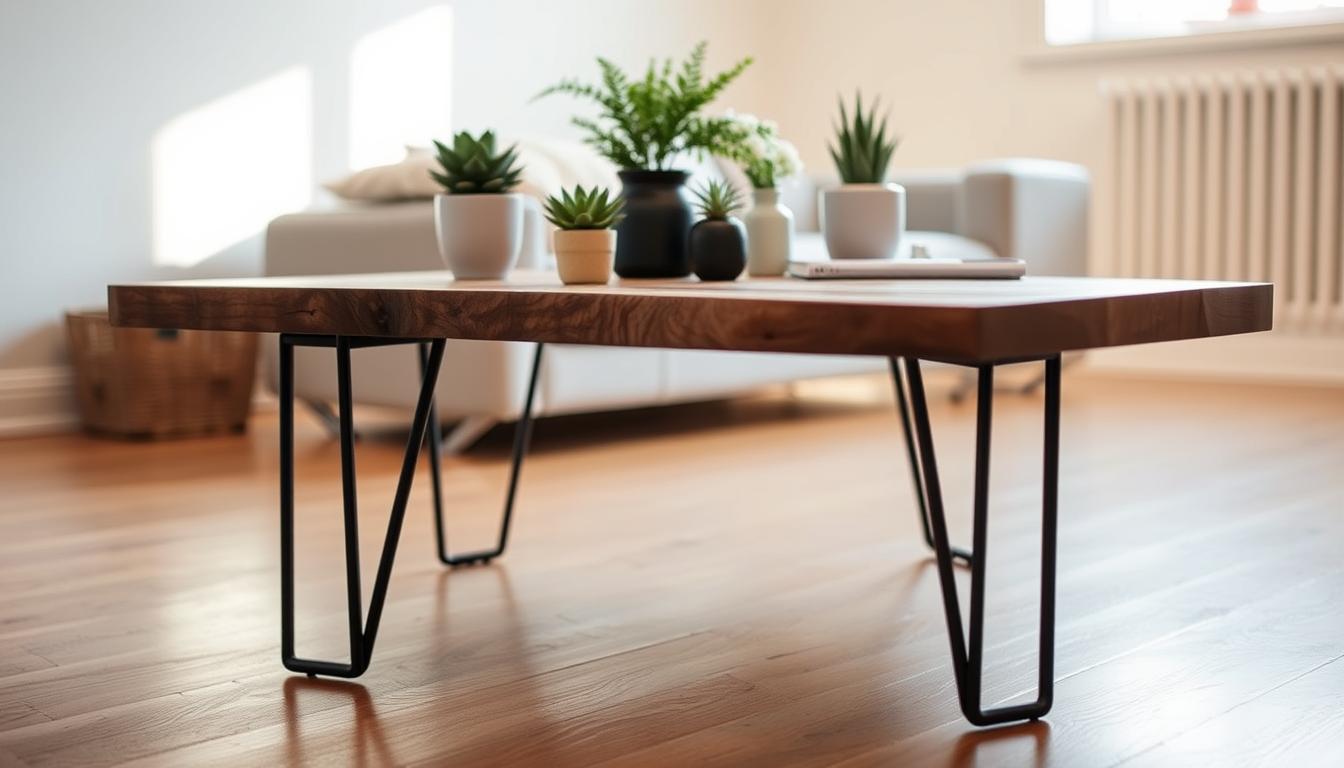
LACK leg swap: replace the stock legs with tapered wooden or hairpin legs for a mid-century lift. Check mounting plate alignment and pilot holes so the base stays stable.

Rustic farmhouse vibe: fasten barn boards or a thick pine top to HEMNES or LACK. Keep a small overhang, add cleats underneath, and secure from below so the original top stays intact.
Marble without the weight: wrap a KLUBBO top in marble contact paper, warm corners for stretch, and squeegee bubbles for a stone-like surface that’s replaceable.
- Herringbone or plank top: dry-fit pieces on a LACK, stain before assembly, then clear-coat after mounting for long wear.
- Two-toned and tiled: add wood trim to the sides and lay geometric tile on the top for a bold contrast.
- Basket base: pair a SNIDAD basket with a round pine top for an airy, organic look.
- Trestle and slab: use VIKA LERBERG legs under a stained board for a minimal trestle feel.
- Storage boosters: place two LALLERÖD units side by side for rollable storage that organizes throws and remotes.
Test-fit every piece before final assembly. A dry run saves time and makes sure the piece sits square and serves your room well.
Finishes, Styles, and Space-Savvy Ideas for Coffee Tables
Smart surface choices and slim profiles help your coffee table read like a high-end piece. Start with a clear style goal—farmhouse, modern, or glam—then pick finishes that match.
Spray paint tips for smooth coverage and durable results
Prep well: scuff glossy areas, clean, and use a bonding primer. Hold the can 6–10 inches away and use light, overlapping passes.
Allow flash time between coats to avoid orange peel. For VITTSJÖ frames, gold spray plus Rust-Oleum Ultra Cover 2x White Satin on shelves gives a luxe look.
Contact paper tricks: marble, wood grain, and chrome adhesive film
Work center-out with a felt squeegee and heat corners gently. Chrome adhesive film can make a LACK read like a sleek cube, while marble wrap suits a KLUBBO top.
Farmhouse, modern, and glam: choosing a look that fits your room
Farmhouse favors warm boards and matte coats. Modern uses straight sides and neutral tops. Glam leans on gold, gloss, and stone effects.
Small-space wins: nesting, rolling bases, and lightweight pieces
Choose nesting sets, rolling LALLERÖD-style bases, or slender legs to keep mass low. Pre-finish boards, attach with short screws from below, and make sure the base is level.
| Finish | Best Base | Quick Win |
|---|---|---|
| Glam (gold/gloss) | VITTSJÖ frame | Gold spray + white shelf |
| Marble look | KLUBBO top | Marble contact paper |
| Modern chrome | LACK cube | Chrome adhesive film |
| Farmhouse | Thick pine or planked top | Pre-finish boards + clear coat |
Conclusion
Finish strong. Pick one clear hack that gives the biggest visual return—paint the frame, add a wood top, or apply contact paper—and make that your first step.
Work in short sessions and make sure you measure twice, dry-fit parts, and pilot for screws. Level the sides and check the base so the piece feels solid where you place it in your living room.
Start with a single, manageable project and expand as you gain confidence. With models like LACK, VITTSJÖ, KLUBBO, HEMNES, and LALLERÖD you can match style, space, and time—and end with a diy coffee table that suits your home.