
Did you know that over 65% of pet owners feel their furry companion’s sleeping area disrupts their home’s aesthetic appeal? This common dilemma leaves many searching for solutions that balance comfort for their animals with stylish interior design.
Traditional pet resting spots often clash with carefully curated living spaces. Metal crates and obvious pet furniture can detract from your home’s ambiance while occupying valuable floor space. Many animal enthusiasts struggle to find options that serve both practical and decorative purposes.
This guide reveals how to transform ordinary household items into dual-purpose creations. You’ll discover techniques for converting existing pieces into comfortable resting areas that blend seamlessly with your decor. The approach eliminates the need for separate, unsightly animal furniture while providing your companion with a cozy retreat.
The project offers significant advantages beyond visual appeal. You’ll save considerable money compared to purchasing expensive designer pet products. More importantly, you gain the satisfaction of creating a custom solution tailored to your specific space and design preferences.
By repurposing furniture, you breathe new life into forgotten pieces while solving a practical challenge. This method allows you to accommodate your animal’s needs without compromising your home’s style. The result is a functional creation that benefits both you and your beloved companion.
Key Takeaways
- Transform ordinary furniture into dual-purpose pet resting areas
- Save money compared to expensive designer pet products
- Create custom solutions that match your home’s decor
- Eliminate unsightly traditional pet furniture from your living space
- Repurpose existing pieces for both style and functionality
- Provide comfortable sleeping areas that blend with your interior design
- Gain skills to execute personalized pet furniture projects
Introduction: Embracing Functional Pet Furniture
Conventional animal crates often create an eyesore that conflicts with carefully planned home aesthetics. Many homeowners face the challenge of balancing their companion’s comfort with maintaining a cohesive interior design scheme.
Overview of the Project
This innovative approach transforms ordinary household items into dual-purpose creations. You can convert an end table into a comfortable resting space that serves as both attractive furniture and a cozy pet bed.
The concept addresses the limitations of traditional metal crates while offering a stylish alternative. Products like the bedside lounge pet demonstrate how functionality and aesthetics can harmoniously coexist.
Benefits of Merging Style with Pet Comfort
Merging design with animal accommodations provides significant advantages beyond visual appeal. Your companion gains a dedicated space that feels secure and integrated into your living environment.
This method maximizes space efficiency while ensuring proper ventilation and structural safety. You create a permanent solution that enhances your decor rather than detracting from it.
| Traditional Approach | Functional Furniture Solution |
|---|---|
| Oversized metal crates | Repurposed end table |
| Clashes with home decor | Blends seamlessly with interior design |
| Temporary-looking solution | Permanent furniture piece |
| Limited aesthetic appeal | Creates a posh dog bed alternative |

The lounge pet bed concept represents a shift toward integrated animal accommodations. You achieve a custom look that perfectly matches your interior vision while providing optimal comfort for your companion.
Inspiration and Concept Behind Your DIY Project
The journey of transforming furniture begins with seeing hidden potential in everyday objects. Your creative process starts when you recognize opportunity in overlooked pieces. This mindset turns simple finds into personalized solutions for your home.
Imagine discovering an end table at a garage sale for just five dollars. Instead of seeing a simple table, you envision a comfortable pet bed that serves dual purposes. This vision becomes the foundation for your entire project.
From an End Table to a Pet Bed: A Creative Journey
Your inspiration often comes from specific needs. You might want a dog bed that doubles as a nightstand in your bedroom. This practical requirement sparks the idea to turn old end furniture into multifunctional pieces.

The emotional connection to rescued furniture adds deep meaning to your work. You’re not just creating a pet bed. You’re giving a once-loved piece new purpose and extending its lifecycle.
Store interesting pieces until the perfect project idea emerges. Allow your concepts to develop organically. Consider your animal’s needs, space constraints, and aesthetic preferences simultaneously.
How Past Projects Influence Your Design Ideas
Previous DIY experiences significantly shape your current approach. Each completed project builds your confidence in techniques like painting and modification. These skills become valuable tools for new challenges.
Your design concept should maintain structural integrity while achieving your vision. Whether converting an old end chair or creating a chair pet bed adaptation, safety remains paramount. Balance creativity with practical considerations for the best results.
This creative process teaches you to see furniture for what it could become. That mindset transforms bargain finds into customized treasures perfectly suited to your unique situation.
Planning Your Project and Setting Clear Goals
Successful furniture transformations begin with thoughtful preparation and strategic planning. You need to establish clear objectives before starting any work on your piece.

Determining the Ideal Design for Your Space
Start by evaluating where the finished piece will reside in your home. Consider whether it will serve as a bedroom nightstand or living room accent table.
Your animal’s size and sleeping patterns should guide your design choices. Ensure the resting area provides adequate space for comfortable stretching.
Explore different design approaches like a simple wooden pet bed conversion or more complex built-in dog bed solutions. For multiple animals, a double-layer wooden pet structure might work best.
Budgeting and Time Management Tips
Create a realistic budget that accounts for furniture acquisition, materials, and finishing supplies. Thrift store finds can significantly reduce your initial costs.
Allocate sufficient time for each project phase—preparation, modification, painting, and drying. Proper time management prevents rushed work and ensures quality results.
Set specific goals for your final product: matching your decor, ensuring structural safety, and providing proper ventilation. This planning creates a roadmap for success.
Materials and Tools: Gathering What You Need
Before beginning any creative transformation, gathering your resources ensures a smooth workflow from start to finish. Having everything prepared saves time and prevents interruptions during the construction process.
Essential Supplies and Paints
Your painting supplies form the foundation of your project’s visual appeal. You’ll need DecoArt Chalky Finish Paint in “Vintage” for the main coat and “Everlasting” for accent details. A quality paint brush and mini-roller with mohair cover ensure smooth application.

For surface preparation, use 220-grit sandpaper and Krud Kutter cleaner. These materials remove dirt and ensure proper paint adhesion. The DecoArt Ultra-Matte Varnish protects your finished piece.
Recommended Tools for a Smooth Transformation
A Ryobi cordless drill handles hardware removal and starter holes. The Ryobi jigsaw with wood blade cuts panels efficiently. A standard hammer assists with panel removal.
Decorative sheet metal provides ventilation when spray painted with Rustoleum gloss white. Use tin snips for cutting metal to size. Wood screws secure the sheet metal to the door panel.
Organize all materials in your work area before starting. This preparation makes your project flow smoothly from modification to finishing touches.
Step-by-Step Guide: Transforming Your Furniture
Executing your vision requires a methodical approach to each phase of the transformation. This process ensures the final piece is both structurally sound and visually appealing.

Preparing and Modifying the End Table
Begin by carefully removing all hardware. Take off door handles and cabinet doors. Store all small parts in a labeled baggie for safekeeping.
Next, focus on creating ventilation openings on each side. Drill large starter holes using a 3/8″ to 1/2″ bit. Insert a jigsaw blade into each hole.
Cut straight lines from the starter hole to the top and then to the bottom. Gently tap out the panel pieces with a hammer. Repeat this process on the opposite side.
The door panel requires similar modification. Drill holes at strategic points around the center panel. Use the jigsaw to connect these points and remove the center section.
Once all modifications are complete, lightly sand all surfaces with 220-grit sandpaper. Clean thoroughly with Krud Kutter to remove all dust and ensure proper paint adhesion.
Painting, Detailing, and Finishing Touches
Your painting process begins with the accent color. Apply “Everlasting” paint to all edges, corners, and the entire top surface. Allow it to dry completely before applying a second coat if needed.
Once the accent layer is dry, apply the main “Vintage” color over the entire piece, including the interior. Two coats will provide rich, even coverage. This layered approach is the foundation for the distressed finish.
After the paint dries, create the distressed look. Dip a 220-grit sanding sponge in water and lightly wet sand the edges. This technique reveals the “Everlasting” paint underneath for a worn, professional appearance.
For added dimension, use dry sandpaper to gently expose the original wood in select areas. Use a small artist’s brush to hand-paint “Everlasting” highlights on specific edges and corners.
Cut pre-painted white sheet metal to fit the side openings. Slide these pieces into the slots and secure them to the door panel with small wood screws. This step provides essential airflow.
The final step is protection. Apply two coats of DecoArt Ultra-Matte Varnish over all painted surfaces. This sealant guards against wear and ensures your creation remains beautiful.
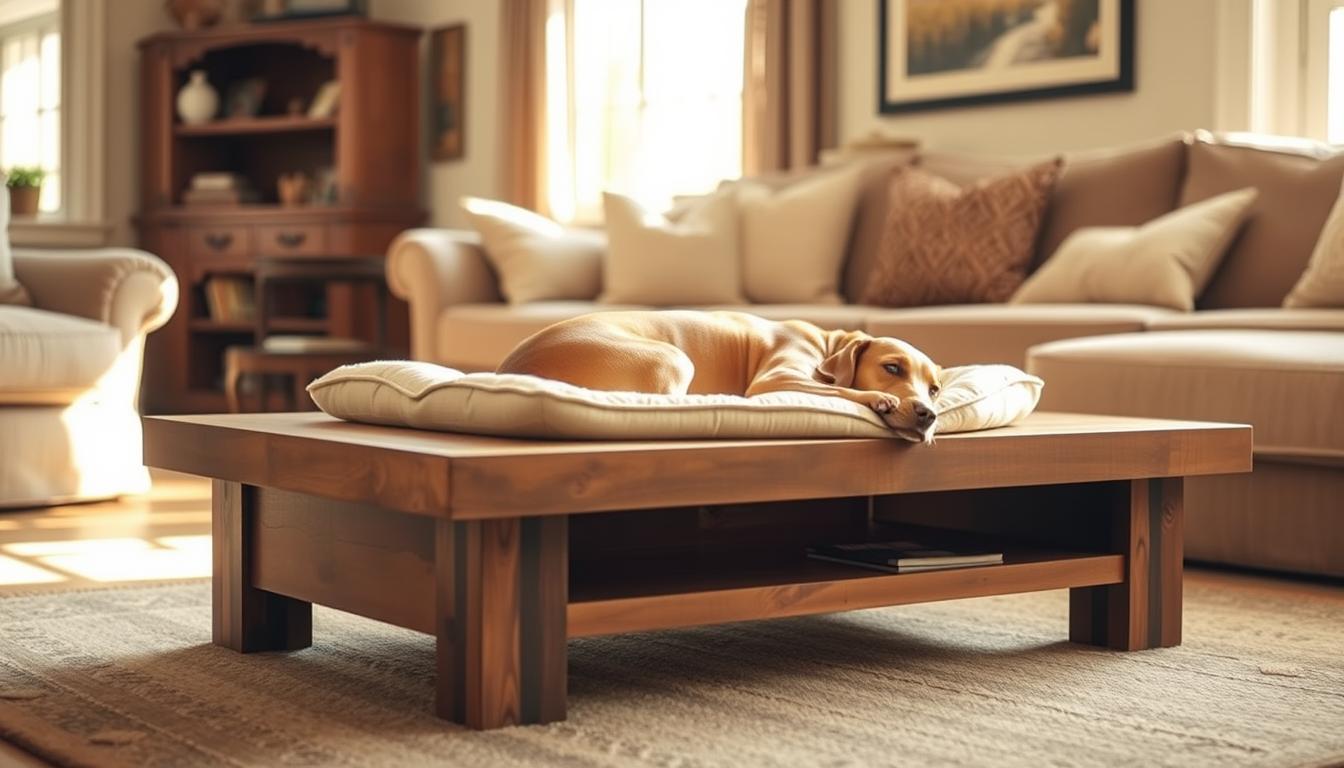
DIY Coffee Table Dog Bed: Functional Furniture For Pet Lovers
The true success of your creative furniture transformation lies in maintaining structural stability while ensuring pet comfort. Your attention to detail during construction will determine how well the piece serves both purposes.
Key Techniques to Ensure Structural Integrity and Style
Carefully inspect all edges after cutting and sanding. Remove any sharp corners that could injure your animal. This is especially important around entry points and ventilation areas.
Maintain the original furniture’s stability by avoiding load-bearing elements. Ensure the top surface stays securely attached. Test that the piece doesn’t wobble when your companion moves inside.
Your style choices should complement existing decor. The distressed paint technique and color selection work together with function. Whether placed in your bedroom or living area, the finished piece should blend seamlessly.
Practical Tips to Keep Your Pet Safe and Comfortable
Proper ventilation through decorative sheet metal inserts prevents stuffiness. Test the resting space before introducing your animal. Check that the interior provides sufficient room for comfortable positioning.
Add a washable cushion or soft blanket inside. This creates a cozy retreat your companion will actually use. The comfort level significantly impacts whether your animal enjoys their new space.
As one satisfied creator shared about their project: “I couldn’t be happier knowing my dog Stella is safe and secure sleeping next to me at night.” This approach turns old end furniture into attractive solutions that pets love.
Conclusion
As you step back to admire your finished work, you’ll find that the greatest reward comes from seeing your companion embrace their new space. Your creation eliminates the need for traditional metal crates while providing a comfortable resting place.
The creator expressed genuine happiness knowing Stella sleeps safely nearby, confirming the project’s success. Your animal’s approval represents the ultimate measure of achievement.
This endeavor demonstrates how ordinary items can become extraordinary solutions. You’ve developed valuable skills for future home improvement projects while saving money compared to store-bought alternatives.
The techniques learned here apply to various scenarios, from simple cat bed constructions to more complex wooden pet structures. Your completed piece serves as both beautiful furniture and a cozy retreat.