
Every year, businesses discard over half a billion wooden pallets. That’s enough material to build a functional piece of furniture for nearly every home in America. This staggering number highlights a massive opportunity for creative reuse.
This guide focuses on transforming those readily available materials into a beautiful and practical centerpiece for your living space. You can create a unique item that combines sustainability with personal style. The process is designed to be an accessible entry point into furniture creation.
You will discover that this endeavor requires minimal prior experience with woodworking. Basic tools and a free weekend are all you need to get started. The result is a sturdy and attractive piece that adds authentic character to any room.
We will walk you through each step, from sourcing materials to applying the final finish. This comprehensive approach ensures you achieve a polished, professional-looking result. You’ll gain the confidence to tackle future creative builds.
Key Takeaways
- This endeavor offers an affordable and rewarding way to create custom furniture.
- The process is beginner-friendly, requiring minimal tools and experience.
- You will be repurposing materials, embracing a sustainable approach to home decor.
- The finished piece is highly versatile, suitable for both indoor and outdoor settings.
- Clear, step-by-step instructions ensure a successful and satisfying build.
- Customization options allow you to tailor the final look to your personal taste.
Why Create a DIY Pallet Coffee Table?
The transformation of industrial cast-offs into beautiful home pieces represents a creative approach to sustainable living. This method allows you to build distinctive furnishings while reducing environmental impact.

Benefits of Reclaimed Wood in Your Home
Reclaimed materials bring unique advantages to your living space. Each piece of wood carries its own history through natural markings and textures.
The table below highlights key differences between new lumber and reclaimed options:
| Feature | New Lumber | Reclaimed Wood | Impact on Your Home |
|---|---|---|---|
| Character Markings | Uniform appearance | Natural scuffs and patina | Adds authentic personality |
| Environmental Footprint | Higher carbon footprint | Repurposed materials | Supports sustainability |
| Cost Considerations | Market price dependent | Often free or low-cost | Budget-friendly option |
| Unique Qualities | Mass-produced consistency | One-of-a-kind variations | Creates distinctive pieces |
Embracing Rustic Charm and Sustainability
You’ll discover that reclaimed pallet wood introduces warmth and character unavailable in new materials. The natural imperfections become design features rather than flaws.
This approach aligns with eco-conscious values while creating furniture with genuine appeal. Your finished piece will showcase both environmental responsibility and aesthetic charm.
Gathering Materials and Tools for Your Project
Proper preparation is the foundation of any successful furniture project, beginning with gathering the right components. Having everything organized before starting saves time and ensures a smooth process.

Essential Materials Checklist
Your materials list should include two reclaimed wooden platforms that maintain structural integrity. Look for heat-treated units without signs of contamination.
| Material | Quantity | Purpose | Estimated Cost |
|---|---|---|---|
| Reclaimed platforms | 2 units | Main structure | Free – Low cost |
| Locking caster wheels | 4 pieces | Mobility | $65 |
| Custom glass top | 48″ x 24″ | Surface protection | $100 |
| Fasteners & brackets | Assorted | Assembly | $15-25 |
Tool Requirements and Safety Tips
Essential tools include an electric sander, crowbar for fastener removal, and quality adhesive. Safety equipment like dust masks and gloves are crucial.
Always inspect your reclaimed wood for splinters and damage. Work in a well-ventilated area and follow all tool instructions carefully.
Preparing and Cleaning Your Pallets
Before assembly begins, thorough cleaning and surface preparation ensure your materials are ready for construction. This critical phase removes contaminants and creates a safe, workable surface.
Effective Cleaning Methods for a Fresh Start
You’ll start by using a rotating fiber brush to clean each pallet thoroughly. Work parallel to the wood grain to remove dirt while preserving the natural texture.
Alternative methods include media blasting or high-pressure washing. These approaches require careful handling but effectively clean deep pores.

Systematic disassembly comes next. Remove the 78 specialized nails carefully using a sturdy crowbar. Some wood splitting may occur, but this often enhances the character.
Sanding Techniques for a Smooth, Splinter-Free Surface
Invest adequate time in sanding each board individually. An electric sander creates the smooth finish needed for safety and aesthetics.
Households with children require extra attention to splinter removal. The table below compares cleaning approaches:
| Method | Effectiveness | Time Required | Best For |
|---|---|---|---|
| Rotating Brush | High | Medium | Texture preservation |
| Pressure Washing | Very High | Short | Deep cleaning |
| Media Blasting | Extreme | Long | Stubborn contaminants |
The quality of your preparation determines the longevity of your finished piece. Proper surface treatment prevents future issues.
Check each slat for mold and structural soundness. Your attention during preparation creates the foundation for professional results that will serve you reliably for years.
DIY Pallet Coffee Table: Rustic Charm Made Easy
Understanding the complete workflow before starting ensures efficient progress. This project follows a logical sequence from material preparation to final finishing. Each phase builds upon the previous one for structural integrity.
You’ll discover that preparation constitutes the majority of your time investment. The actual assembly proceeds relatively quickly once materials are ready. This systematic approach breaks the project into manageable phases.

Project Phase Comparison
The table below shows how time distributes across different stages:
| Project Phase | Time Investment | Skill Level Required | Key Activities |
|---|---|---|---|
| Material Preparation | 40-50% | Beginner | Cleaning, sanding, repairing |
| Cutting & Assembly | 30-35% | Intermediate | Measuring, joining, securing |
| Finishing & Detailing | 20-25% | Beginner | Sealing, adding accessories |
Your assembly strategy involves creating a stable base first. Then you build the horizontal surface that showcases characteristic spacing. This step-by-step nature allows working at your own pace.
You can make informed modifications while maintaining structural principles. Understanding the workflow helps anticipate tool needs and drying times. This knowledge prevents delays during each construction phase.
Step-by-Step Construction Process
Organizing your materials logically is the first critical step in the assembly process. You will separate your cleaned and sanded boards into groups for the base, top surface, and end panels.
This systematic approach ensures a smooth workflow. Select the most attractive pieces for visible areas.

Disassembling and Arranging Pallet Pieces
Carefully inspect each board for splits that occurred during nail removal. Repair any breaks using a quality wood glue like standard PVA.
Apply glue generously to the mating surfaces. Clamp the pieces firmly for the full 24-hour cure time for a strong bond.
Assembly Techniques for Stability and Style
Build the base by stacking two boards vertically. This creates the proper height while maintaining an authentic look.
Arrange the top slats horizontally with consistent spacing. This design provides support and allows a view to the storage area below.
The table below compares two common fastening methods for securing your project:
| Method | Visibility | Strength | Skill Level |
|---|---|---|---|
| Interior Bolts | Hidden | Very High | Intermediate |
| Exterior Screws | Visible | High | Beginner |
Using interior bolts creates a clean exterior. This technique contributes to a refined final appearance. Check that all joints are flush and the structure is level before adding legs.
Customizing with Legs, Casters, and Glass Top
Customization transforms your basic structure into a functional centerpiece. This phase lets you tailor the piece to your specific needs and preferences.

You’ll elevate the height to approximately 19 inches using sturdy legs. This creates standard dimensions for comfortable use in any seating arrangement.
Adding Mobility and Functional Design Elements
Locking caster wheels provide excellent mobility for your creation. Install two wheels with brakes and two without for controlled movement.
The industrial hardware complements the rustic aesthetic beautifully. Hex wood screws with machine heads add to the robust feel.
Your glass top option creates a level surface for drinks and decor. Custom-cut glass with polished edges ensures safety and elegance.
The natural cavity below offers valuable storage space. This hidden compartment keeps your living area organized and tidy.
Each choice personalizes the final design to match your style. Your finished piece will reflect both practicality and personal taste.
Finishing Touches and Protective Coatings
The final phase of your project involves applying protective coatings that enhance durability and appearance. This critical step seals the wood and prepares it for years of use.

Choosing the right lacquer is essential. Opt for water-dilutable, colorless products with low pollutant content, like those from German Clou brand. These options carry the “Blue Angel” certification, making them safe for furniture used around children.
Choosing the Right Lacquer and Priming Options
Your selection depends on the coffee table‘s future location. For indoor pieces, a quality matte lacquer provides a balmy finish that protects against minor splinters.
Outdoor applications require different materials. Use exterior flat paint applied with a sprayer for even coverage. Seal woods like cedar with Tung oil for deep moisture protection.
Be aware that water-based lacquers can cause cedar bleed on certain woods. This creates dark stripes from natural tannins. Solvent-based varnishes are better options to avoid this effect.
Applying Multiple Coats for Lasting Durability
Follow these instructions carefully for a professional result. Apply three thin coats to the bottom and four to the top surface. Thin coats prevent cracking from rapid drying.
Lightly sand with 240-grit sandpaper between each coat. This process creates mechanical adhesion for a durable finish. Allow adequate drying time between applications.
This diy finishing process requires patience. Rushing can lead to defects. Your careful attention ensures the pallet wood is beautifully protected.
The matte finish enhances the grain while providing a subtle barrier. It resists minor impacts and moisture exposure effectively.
Styling Your Pallet Coffee Table in Any Space
The mobility and character of your creation open up numerous styling opportunities throughout your living environment. You can position this versatile furniture piece in various settings to maximize its functional and aesthetic appeal.
Decor Ideas for Indoor and Outdoor Living Areas
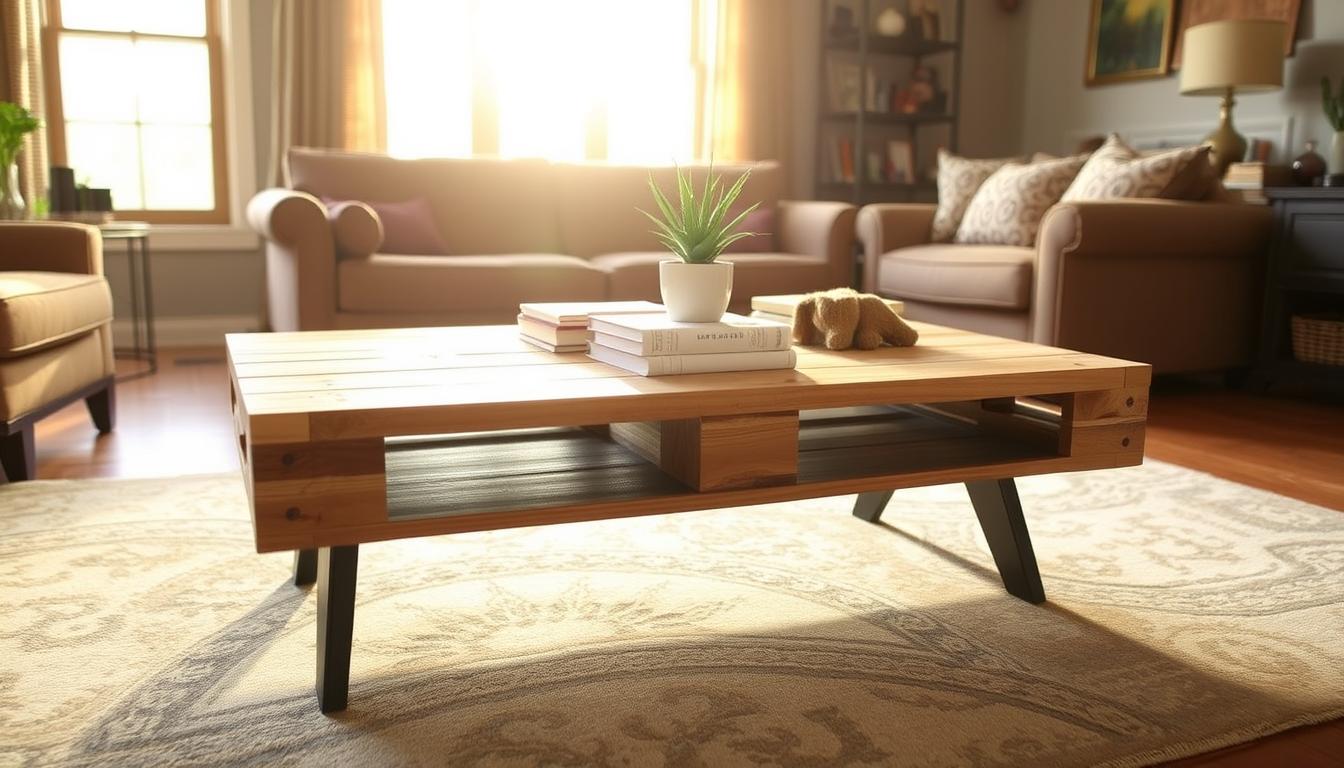
Your indoor approach creates a curated look that balances beauty with practicality. Stack vintage books on the surface alongside a decorative tray holding candles and coasters. Add a low vase with fresh flowers for natural elegance.
You’ll maximize the built-in storage compartments by tucking woven baskets underneath. These keep essentials like throw blankets or reading materials accessible while maintaining visual cleanliness in your room.
For outdoor spaces, position your furniture under covered areas like pergolas. This protects it from direct weather exposure while creating an inviting destination. The natural wood tones bring warmth to porch or patio settings.
Embrace seasonal decorating opportunities throughout the year. Summer arrangements might feature bright lanterns and drink dispensers. The mobility allows easy repositioning to capture optimal light or accommodate different seating arrangements.
Your finished piece adapts beautifully to various decorating styles. From farmhouse to industrial aesthetics, it adds meaningful character to any home. The weathered appearance becomes a conversation starter about sustainable living.
Conclusion
The skills you’ve acquired throughout this process extend far beyond the boundaries of this single furniture piece. You’ve mastered techniques that apply to countless future projects around your home. This journey has transformed your perspective on materials and craftsmanship.
Your completed creation stands as proof that beautiful furniture doesn’t require expensive resources. With vision and patience, you’ve turned discarded materials into a functional centerpiece. The table now serves as a daily reminder of what’s possible.
The confidence gained from this project will serve you well in future creative endeavors. You’ve learned to see potential where others see waste. These skills transfer to other areas of home improvement and decoration.
Continue exploring new ways to personalize your living space. The techniques you’ve mastered here apply to many other projects. Your creative journey has just begun.