
Did you know that nearly 70% of homeowners who undertake furniture-building projects report significantly higher satisfaction with their living spaces? Creating your own centerpiece transforms a room from generic to genuinely personal.
This guide reveals how you can craft a stunning focal point that blends traditional craftsmanship with contemporary aesthetics. You’ll discover comprehensive approaches to building a custom piece that reflects your unique style while enhancing your home’s sophistication.
The process walks you through every stage—from initial planning and material selection to final finishing touches. Whether you’re an experienced woodworker or a motivated beginner, these scalable methods match your skill level and available tools.
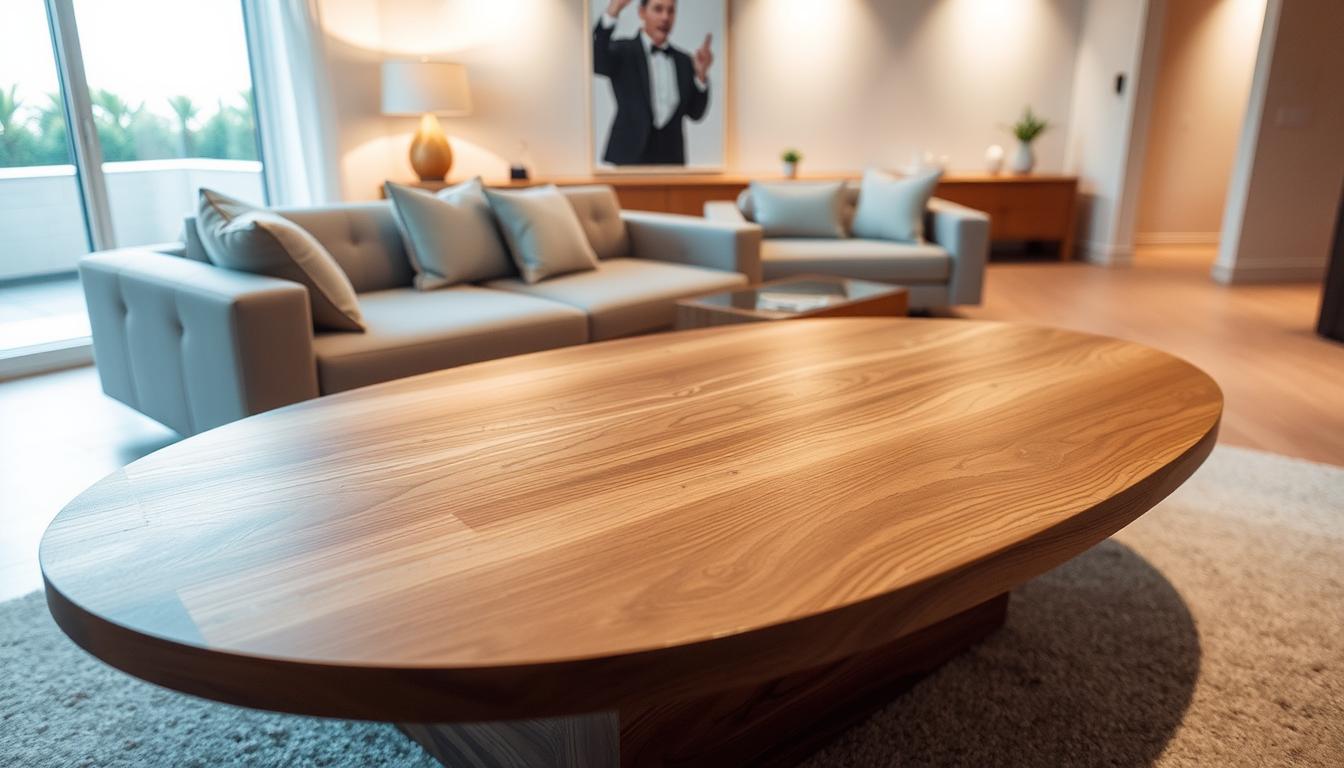
You’ll gain confidence in transforming raw materials into a beautiful, functional centerpiece. The gentle curves of this distinctive shape soften room aesthetics while providing ample surface area for daily use and decorative displays.
Building your own furniture creates a unique handcrafted piece that serves as both practical surface and artistic statement. Explore our complete resource at diycoffeetable.com to begin your creative journey.
Key Takeaways
- Custom furniture projects dramatically increase homeowner satisfaction with their living spaces
- Building your own centerpiece allows for personalized style and enhanced room sophistication
- Comprehensive guidance covers planning, material selection, construction, and finishing stages
- Scalable approaches accommodate various skill levels from beginner to experienced woodworker
- Distinctive curved designs soften room aesthetics while maximizing functional surface area
- The process combines traditional woodworking techniques with modern design sensibilities
- Creating handmade furniture results in unique pieces that serve practical and decorative purposes
Introduction: Transform Your Living Room with a Custom Coffee Table
Handcrafted furniture brings a level of personalization that transforms ordinary spaces. Your central piece becomes more than just functional—it becomes an expression of your unique style and vision for your home.
A bespoke centerpiece anchors your entire living room with both practical utility and visual appeal. Unlike mass-produced options, you control every detail from dimensions to materials.
The building process itself offers deep satisfaction beyond the finished product. You connect with traditional craftsmanship while expressing your creative vision through each decision.
This distinctive shape combines the elongated surface of rectangular designs with soft, flowing edges. The result enhances your living space with both elegance and functionality.
Creating your own furniture allows you to select sustainable materials and ensure lasting quality. You build a piece that truly reflects your personal aesthetic and interior design goals.
The emotional reward of using something you crafted with your own hands is unparalleled. This project offers both practical benefits and personal fulfillment.
Planning and Design Considerations
Before cutting any materials, investing time in design planning ensures your final piece will harmonize with your room’s aesthetic. This phase determines how well your creation will function within your existing space.
Defining Your Style and Space
Begin by evaluating your room’s layout and traffic patterns. Measure the available space carefully, allowing 14-18 inches clearance around seating areas. This ensures comfortable movement and access.
Consider your existing interior design style. Whether modern, rustic, or traditional, your piece should complement rather than conflict with current décor. Sketch multiple concepts to visualize the final result.

Selecting the Right Materials and Dimensions
Material choice significantly impacts both appearance and durability. Solid wood offers traditional warmth, while reclaimed timber provides character. Consider sustainability and maintenance requirements.
Tabletop thickness typically ranges from 20-40 mm. The dimensions should balance visual weight with functionality. Proper proportions create a harmonious piece that anchors your space effectively.
| Material Type | Thickness Range | Typical Dimensions | Best Use |
|---|---|---|---|
| Solid Wood | 25-40 mm | 120×70 cm | Traditional spaces |
| Reclaimed Timber | 30-40 mm | 140×75 cm | Rustic interiors |
| Plywood | 20-30 mm | 150×75 cm | Modern designs |
| MDF | 25-35 mm | 130×70 cm | Painted finishes |
Thoughtful planning transforms raw materials into a cohesive element of your interior design. The right choices create a piece that serves both practical and aesthetic purposes.
DIY Oval Coffee Table Projects for Elegant Living Rooms: Step-by-Step Overview
A systematic approach to furniture construction separates successful projects from abandoned ones sitting in garages. Understanding the complete workflow before starting ensures you can anticipate challenges and prepare accordingly.
Understanding the Project Scope
This building endeavor typically requires 2-4 weekends, depending on complexity and drying times. First-time builders should allocate extra time for learning new techniques.
The major construction phases follow a logical sequence. Each stage builds upon the previous one, creating a cohesive final product.
| Construction Phase | Time Estimate | Skill Level | Key Tools Required |
|---|---|---|---|
| Wood Preparation | 4-6 hours | Beginner | Planer, Jointer |
| Template Creation | 2-3 hours | Intermediate | Router, Jigsaw |
| Leg Construction | 6-8 hours | Advanced | Table Saw, Chisels |
| Final Assembly | 3-4 hours | Intermediate | Clamps, Drill |
| Finishing | 8-12 hours | Beginner | Sander, Brushes |
Experienced craftsmen like Norm Abram demonstrate these techniques using reclaimed wood. Their methods showcase traditional woodworking that produces heirloom-quality furniture.
Some steps demand precision, while others allow creative interpretation. Knowing this helps you allocate mental energy appropriately throughout the process.
Proper preparation prevents mid-project delays. Gather all materials and tools before beginning your build.
Wood Preparation Techniques
The quality of your finished piece depends heavily on how well you prepare your materials from the start. Proper wood preparation techniques form the foundation for durable furniture construction.
Planing and Smoothing the Boards
Begin by planing your boards to remove rough surfaces and ensure uniform thickness. This preparation step eliminates warping and twisting in the wood. Planing creates the smooth, flat surfaces needed for seamless joining.
| Planing Method | Best For | Skill Level | Tools Required |
|---|---|---|---|
| Hand Planing | Small projects | Intermediate | Hand plane, bench |
| Electric Planing | Large surfaces | Beginner | Electric planer |
| Professional Milling | Complex grain | All levels | Professional services |
Joining Techniques for a Durable Tabletop
Once planed, the boards are ready for joining. Mortise and tenon joints provide superior strength for your tabletop. These traditional woodworking techniques ensure longevity.

Select appropriate adhesives and clamps for your project. Allow adequate curing time—typically 24 hours minimum. Patience during this phase is non-negotiable for joint integrity.
Cutting and Shaping the Oval Top
The defining moment in your build arrives when rough lumber begins its transformation into the graceful silhouette of your centerpiece. This phase turns your prepared wood into the distinctive form that defines your creation.
Accuracy here is paramount. A meticulous approach ensures the final piece has perfect proportions and smooth, flowing lines.
Creating and Using an Oval Template
Your journey starts with a precise template. Construct this guide from sturdy hardboard or plywood. The string-and-pencil technique offers a reliable method for drafting the perfect curved form.
Secure the template firmly to your glued-up boards. Use clamps to prevent any movement while you trace the outline. This step guarantees symmetry in your final cut.
Refining the Edge with Routing and Sanding
After a rough cut with your jigsaw, the real magic happens. A router with a pattern-cutting bit follows the template to create a flawless edge. Always move the tool counterclockwise for optimal control and a clean finish.
Patient sanding completes the transformation. Start with coarse grit paper to remove tool marks. Progress to finer grits for a surface ready for finishing.
| Router Bit Type | Best Use | Cut Quality | Skill Level |
|---|---|---|---|
| Straight Bit with Bearing | Template following | Very Smooth | Intermediate |
| Flush Trim Bit | Edge trimming | Smooth | Beginner |
| Round-Over Bit | Softening edges | Decorative | All Levels |
Constructing and Customizing Table Legs
The structural foundation of your furniture piece begins with its supporting elements. These components provide essential stability while contributing significantly to your creation’s visual appeal.

Your design choices range from simple tapered options to elaborate carved styles. Each selection impacts the overall character of your finished work.
Crafting Sturdy, Decorative Legs
Begin by cutting your leg stock according to specific dimensions. Consider the final height minus the tabletop thickness when determining length.
Create robust supports by adhering two pieces of 1.5-inch stock together. This technique produces sturdy 3-by-3-inch legs capable of supporting substantial weight.
Use a dado blade to create precise notches for shelving components. Accurate alignment ensures table stability and professional appearance.
Enhance the decorative aspect with chamfers at the top of each leg. These angled cuts soften transitions while adding visual interest.
Create cove details at the bottom using a sander or router bit. This graceful curve elevates your piece from purely functional to genuinely elegant.
Meticulous attention to detail prevents wobbling and creates essential symmetry. Ensuring all four legs match in length and decoration is crucial for refined furniture.
Assembling the Coffee Table: Securing Components
The moment of truth in your furniture build arrives when individual pieces transform into a unified structure. This phase demands meticulous attention to every connection point.
Begin with a complete dry-fit of all parts. Verify each joint fits perfectly before introducing any adhesive. This crucial step prevents permanent mistakes.
Attaching the Legs with Precision
Modern domino joinery offers exceptional strength for connecting legs to stretchers. These specialized loose tenons combine efficiency with traditional reliability.
Apply adhesive thoroughly within the domino slots. Ensure complete coverage without excessive squeeze-out. Strategic clamping applies even pressure across all joints simultaneously.
Incorporating Shelves and Lower Supports
Insert the lower shelf into the precut leg notches. This component adds valuable storage and critical structural bracing.
It prevents leg spreading under weight. The final step involves securing the tabletop to the framework with equal precision.
Always check for square and level before adhesives set. Minor adjustments now ensure your creation sits perfectly flat. This attention to detail distinguishes professional results.
| Clamping Method | Pressure Distribution | Best For | Setup Time |
|---|---|---|---|
| Parallel Clamps | Excellent | Large frames | Moderate |
| Bar Clamps | Good | General use | Fast |
| Band Clamps | Even | Complex shapes | Slow |
| Hand Screws | Localized | Small joints | Fast |
Wood Finishing and Protective Coatings
The final transformation of your furniture project occurs during the finishing phase, where raw wood becomes a durable, beautiful surface. This stage brings out the natural grain patterns while providing essential protection. Proper finishing safeguards your creation from moisture, stains, and daily wear.

Sanding Techniques for a Smooth Finish
Begin with systematic sanding progressions to achieve a flawless surface. Start with coarse grits (80-100) to remove major imperfections. Move to medium grits (120-150) and finish with fine grits (180-220).
Always sand with the grain direction to prevent visible scratches. Feel the surface with your hands to detect imperfections your eyes might miss. Patient sanding creates the perfect foundation for protective coatings.
Choose from various finishing options based on your needs. Oil-based polyurethane offers maximum durability for high-use surfaces. Water-based alternatives provide faster drying times with lower odor.
Apply multiple thin coats rather than single heavy applications. Maintain wet edges to prevent lap marks during application. Allow adequate drying time between coats—typically 24-48 hours.
Complete your project by attaching felt pads to the leg bottoms. This simple step protects your floors from scratches while allowing easy repositioning. Your finished piece will showcase both craftsmanship and durability.
Integrating Modern and Traditional Design Elements
Contemporary interior design increasingly embraces the harmonious integration of traditional and modern elements for unique results. This approach allows you to create pieces that honor craftsmanship heritage while embracing current aesthetics.
Your furniture project can bridge generational styles through thoughtful material selection. The key lies in balancing proportions and maintaining visual harmony.
Balancing Wood, Glass, and Metal Accents
Glass components bring light and transparency to your creation. They work well with almost any decorating style due to their clean lines and reflective qualities.
Metal accents provide structural support and contemporary flair. Consider hairpin legs or decorative brackets to complement your wood construction.
Wood offers warmth and traditional appeal. Balancing these materials creates depth and interest in your final piece.
| Material Combination | Traditional Appeal | Modern Influence | Best Use Cases |
|---|---|---|---|
| Wood with Glass Top | High | Medium | Transitional spaces |
| Metal with Wood Accents | Medium | High | Contemporary settings |
| Glass with Metal Frame | Low | High | Minimalist interiors |
| Mixed Materials | Medium | Medium | Eclectic designs |
Successful integration creates pieces that feel both timeless and current. Your design choices should reflect personal style while maintaining functional integrity.
Styling Your Coffee Table for an Elegant Living Room
Thoughtful styling elevates your centerpiece from a functional surface to a design statement. The right accessories can transform your handcrafted piece into a complete interior composition.
Accessorizing with Trays, Books, and Candles
Begin your styling with a decorative tray as the foundation. This essential element provides structure and contains smaller items on your surface. Choose materials that complement your room’s aesthetic.
Stack two or three hardcover books with attractive covers. Position them off-center to create visual interest. Use them as platforms for smaller decorative objects.
Add warmth with candles of varying heights. Group them together on your tray for a balanced look. This approach creates cozy ambiance in your living room.
Using Decorative Accents to Enhance Clean Lines
Incorporate natural elements like fresh flowers or small plants. These additions bring life and color to your arrangement. They contrast beautifully with manufactured materials.
Remember the one-third empty rule for maintaining elegance. Leave approximately one-third of the surface clear. This prevents clutter and ensures practicality.
Your decorative accents should highlight rather than overwhelm the piece’s clean lines. Select fewer, higher-quality items that reflect personal taste. This curated approach respects your craftsmanship.
Maintenance and Upkeep Tips
Your handcrafted centerpiece deserves care that matches the effort you invested in its creation. Proper maintenance preserves both its beauty and structural integrity for years to come.
Cleaning and Protecting Your Table Surface
Regular care prevents damage before it occurs. Dust your piece often using a soft, lint-free cloth. This simple step removes abrasive particles that can scratch the finish.
Wipe glass surfaces frequently to maintain their shine. Fingerprints and smudges can easily diminish its appearance. Use appropriate cleaners for different materials to avoid damage.
Protect your investment from common hazards. Always use coasters for hot beverages and trivets for serving dishes. These precautions prevent permanent heat marks and discoloration.
Place felt pads under decorative objects and frequently moved items. This strategy minimizes scratches on the surface. Lift objects rather than dragging them across the finish.
Address spills immediately to prevent moisture penetration. For wood surfaces, this quick action avoids staining and warping. Consistent, simple care preserves your creation’s elegance.
Conclusion
Your newly built furniture stands as a testament to the patience and precision invested in its creation. You have journeyed from initial planning to the final protective coat, gaining comprehensive diy skills along the way.
The reward extends far beyond the physical piece. You now possess a unique oval coffee table that mass-produced options cannot replicate. This coffee table serves as both a functional surface and a personal achievement.
It brings distinctive elegance and utility to your living room. The care you applied in every step, from wood selection to styling, is evident in the final result.
View this project as a foundation. The confidence you’ve built prepares you for more complex diy endeavors. Each handcrafted piece you create will add unique character to your home, reflecting your growing mastery.